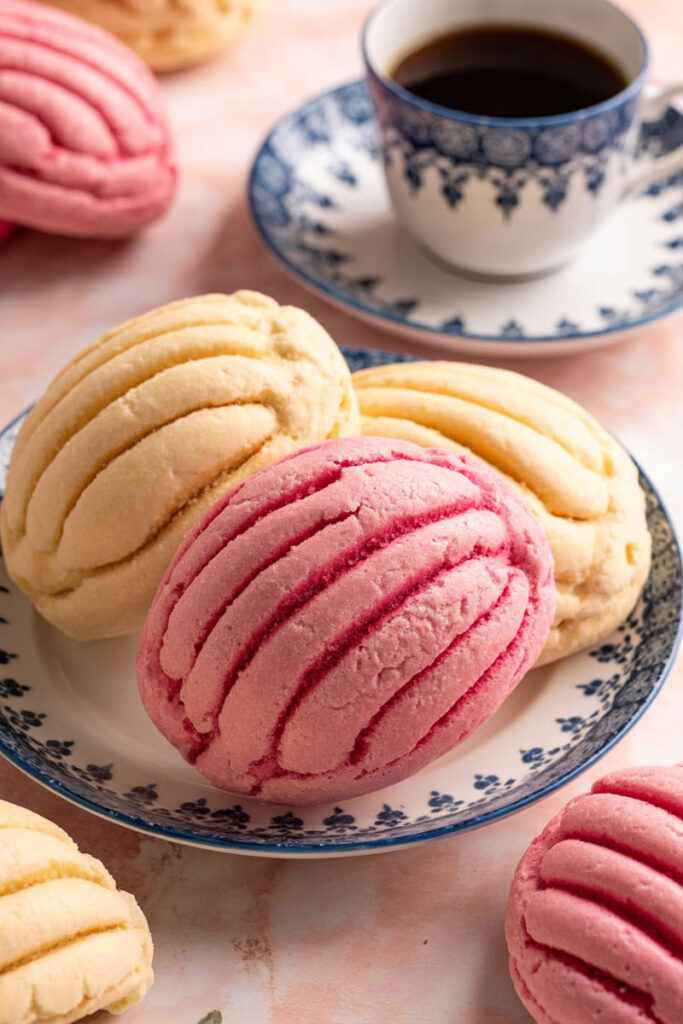
Have you ever had a warm piece of Pan Dulce? For me, these sweet, shell-shaped breads, known as Conchas, are more than just a treat. They’re a warm hug, a perfect companion to coffee, and a link to tradition.
The beautiful, cracked sugar topping isn’t just for looks. It gives you a delightful, crisp texture that’s a perfect match for the soft dough underneath.
And let me tell you, this recipe is my go-to for making that bakery magic happen right in my kitchen. It’s a journey into rich baking traditions, and you can taste that history in every bite. The process might seem a little intense at first, but with some patience and love, you’ll be baking these sweet clouds of perfection in no time. Think of me as your personal guide. I’m here to share all the secrets and pro tips I’ve learned along the way.
Recipe Overview
Let’s get a lay of the land. This recipe takes some time, but most of it is hands-off as the dough does its thing. The reward? Totally worth it.
- Prep Time: 10 minutes
- Cook Time: 18-20 minutes
- Rise Time: 2 hours 30 minutes
- Total Time: Around 3 hours
Servings and Scaling: This recipe makes 12 large servings. Perfect for sharing with friends and family. The good news? It’s easy to scale up or down.
| Servings | Dough Ingredients | Topping Ingredients |
| 6 | 1/2 package dry yeast, 3/8 cup milk, 1/4 cup melted butter, 1/4 cup sugar, 1-2 eggs, 1/2 tsp salt, 1/2 tsp vanilla, 2 1/4 cups flour | 1/4 cup soft butter, 1/2 cup powdered sugar, 1/2 cup flour, 1/2 tbsp vanilla |
| 12 | 1 package dry yeast, 3/4 cup milk, 1/2 cup melted butter, 1/2 cup sugar, 3 eggs, 1 tsp salt, 1 tsp vanilla, 4 1/2 cups flour | 1/2 cup soft butter, 1 cup powdered sugar, 1 cup flour, 1 tbsp vanilla |
| 24 | 2 packages dry yeast, 1 1/2 cup milk, 1 cup melted butter, 1 cup sugar, 6 eggs, 2 tsp salt, 2 tsp vanilla, 9 cups flour | 1 cup soft butter, 2 cups powdered sugar, 2 cups flour, 2 tbsp vanilla |
Difficulty Level: I’d call this an intermediate recipe. The steps are simple, but it’s all about timing and knowing how the dough should feel. Don’t worry, my tips will help you do it with confidence!
Equipment Needed:
- Stand mixer with a dough hook (if you have one, use it!) or a large bowl and a strong arm.
- Medium and large mixing bowls.
- Measuring cups and spoons.
- Baking sheets and parchment paper.
- A very sharp knife or a concha stamp.
Make-Ahead Option: You can prep the dough a day ahead and let it do its first rise in the fridge overnight. Just remember to let it get to room temperature for about an hour before you continue.
Ingredients
The magic of these Pan Dulces comes from a few simple, quality ingredients. Let’s make sure you have everything ready.
For the Dough
- 1 package dry yeast: This is the heart of the bread. Make sure it’s active by checking the date on the packet.
- 3/4 cup milk: Whole milk is my go-to here, but any milk will work.
- ½ cup butter, melted: Unsalted is best so you can control the salt.
- 1/2 cup sugar: This feeds the yeast and sweetens the bread.
- 3 eggs, room temperature: This is a big deal. Room temperature eggs mix in much better, giving you a softer dough.
- 1 teaspoon salt: Balances the sweetness and makes the flavors pop.
- 1 tsp vanilla extract: Adds a lovely aroma and flavor.
- 4 1/2 cups all-purpose flour: You might need a little more or less depending on the humidity.
For the Topping
- 1/2 cup unsalted butter, very soft: This is key for a smooth, workable paste. If it’s too hard, it won’t mix right.
- 1 cup powdered sugar: Creates a fine, sweet paste.
- 1 cup all-purpose flour: Gives the topping its structure.
- 1 tbsp vanilla extract: Another layer of that delicious vanilla flavor.
- Optional: Food coloring, cocoa powder, or cinnamon for classic bakery colors.
Step-by-Step Method
Let’s get our hands (and kitchen) a little bit messy! Follow these steps and you’ll be on your way to beautiful conchas.
For the Dough: The Foundation of Your Pan Dulce
First, we need to wake up the yeast. Warm your milk to about 110°F. It should feel warm to the touch, like a comfy bath. Pour it into your stand mixer bowl, then mix in half the sugar and the yeast. Give it a gentle whisk and walk away for about five minutes.
When you come back, you should see a bubbly, foamy layer. That’s the yeast telling you it’s ready to work! If you don’t see any bubbles, your yeast might be dead. It happens, so don’t get discouraged! Just start over.
Next, whisk the eggs, vanilla, salt, and the rest of the sugar into the yeast mixture. Whisk in about half of the flour to make a smooth, pancake-like paste. This helps stop lumps. Now, pour in the melted butter and give it one last mix. It will look a little strange, but that’s exactly what we want!
Attach the dough hook to your mixer and add the remaining flour. Turn the mixer to medium speed and let it work for 5-7 minutes. You’ll see the dough come together. A good, well-kneaded dough will be smooth and elastic and won’t stick to your finger when you press it. If it’s still a bit sticky, add a couple of teaspoons of flour. But don’t add too much! Over-flouring can make your conchas dry and dense.
Once the dough is smooth, put it in a large, lightly oiled bowl. Cover it and place it somewhere warm and draft-free to rise for about one and a half to two hours, or until it has doubled in size. This is where patience pays off. A good rise is what gives you that light, airy texture.
For the Topping: The Signature Shell
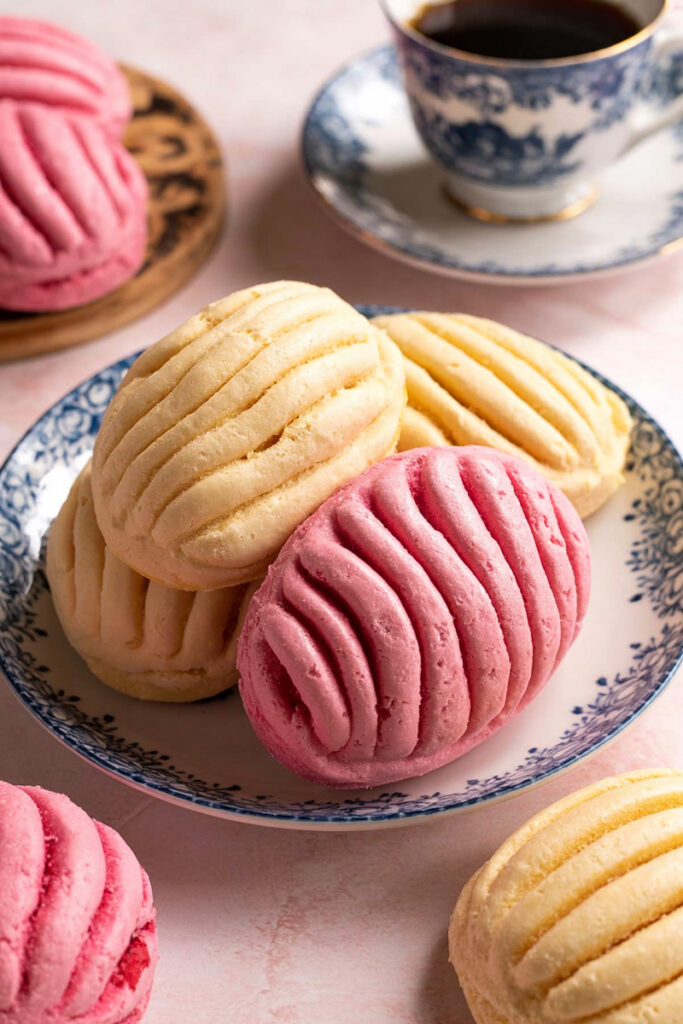
While the dough is rising, let’s make the topping. In a medium bowl, mix the flour and powdered sugar. Then, add the very soft butter and vanilla. Using a spatula or your clean hands, work everything together until you have a smooth, uniform paste. It should feel like thick play-dough.
Now’s your chance to get creative! Divide the mixture into smaller batches. Add a half-teaspoon of cinnamon for classic brown conchas, or a tablespoon of cocoa powder for a rich, chocolatey topping. A few drops of food coloring can also create vibrant pink, green, or yellow conchas, just like the ones from the bakery.
For the Assembly: Bringing It All Together
Okay, now for the fun part! Lightly flour your counter and gently flip your dough onto it. Divide the dough into 12 equal pieces, aiming for about 90g each. To form a perfect bun, cup each piece of dough in your hand (with your thumb and middle finger touching) and roll it in a circular motion on an unfloured counter. The little bit of friction will create a smooth, perfectly round ball. Place six of these balls on each baking sheet lined with parchment paper.
Next, portion out about 1½ tablespoons of the topping for each bun. Flatten each portion into a thin disk, just big enough to cover the top of your dough ball. Gently press it over the bun. Now for the iconic shell pattern: use a very sharp knife to carefully cut the design into the topping. A simple grid or a circular pattern works great. Don’t cut too deep—you just want to score the topping, not the bread itself.
Loosely cover your conchas with plastic wrap and let them rise for their final proof, about 30 minutes, or until they’ve roughly doubled in size. As they get puffy, preheat your oven to 350°F.
Finally, bake at 350°F for 18 to 20 minutes. You’ll know they’re ready when the bottoms are golden and they feel light when you lift them. The scent of warm, buttery sweetness will fill your kitchen—that’s your final cue!
Tips & Tricks
The best thing about this recipe is how easy it is to make it your own!
- Make it Vegan: For a vegan version, use a plant-based milk and substitute the eggs with a vegan egg replacer or a flax egg. Use plant-based butter and vegetable shortening for the dough and topping.
- Get Spicy: For a spicy kick, add a pinch of cayenne or chili powder to the cocoa topping for a chocolate-chili concha.
- Fill ‘Em Up: For a special occasion, try adding a little filling before the final rise—a spoonful of cinnamon-sugar, a dollop of jam, or even some cream cheese.
- Seasonal Flavors: Add pumpkin pie spice for autumn, or a gingerbread mix in the winter. The possibilities are endless!
Serving & Storage
Now that you’ve put in all that work, it’s time to enjoy!
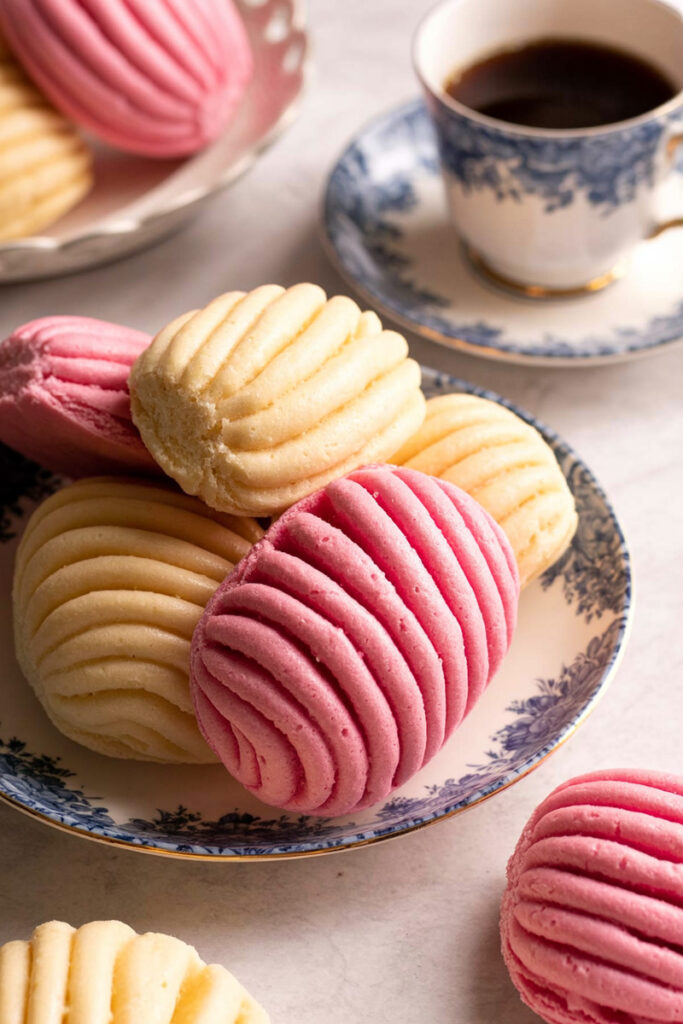
Serving: The best way to eat conchas is warm, right out of the oven. Serve them on a platter or in a basket for a beautiful presentation.
Pairing: They are perfect for dipping! Try them with a cup of rich Mexican hot chocolate, coffee, or even a glass of cold milk.
Storage: Store your cooled conchas in an airtight container at room temperature for up to 3 days. They’ll stay nice and soft.
Reheating: To bring them back to life, place them in a 350°F oven for just 5 minutes. This will crisp up the topping and make the inside soft, just like they were freshly baked.
Freezing: You can freeze the shaped dough balls before the final rise. Just place them on a baking sheet, freeze until solid, and then transfer to a freezer bag. When you’re ready to bake, thaw them in the fridge overnight, let them rise on the counter, and then bake as directed.
PrintConchas (Mexican Pan Dulce)
Conchas are more than just a sweet bread—they’re a warm hug in the form of a pastry. This recipe gives you a soft, brioche-like dough topped with a crisp, shell-patterned sugar crust. Perfect for dipping in coffee or hot chocolate!
- Prep Time: 10 mins
- Cook Time: 18-20 mins
- Total Time: ~3 hrs
- Yield: 12 1x
- Category: Dessert, Bread
- Cuisine: Mexican
Ingredients
For the Dough:
- 1 package (1 tbsp) dry yeast
- ¾ cup milk
- ½ cup butter, melted
- ½ cup sugar, divided
- 3 eggs, room temperature
- 1 tsp salt
- 1 tsp vanilla extract
- 4 ½ cups all-purpose flour
For the Topping:
- ½ cup unsalted butter, very soft
- 1 cup powdered sugar
- 1 cup all-purpose flour
- 1 tbsp vanilla extract
- Optional: food coloring, cocoa powder, or cinnamon
Instructions
- Activate the Yeast: In a stand mixer bowl, warm milk to 110°F. Whisk in half the sugar and yeast. Let it sit for 5 minutes until foamy.
- Make the Dough: Whisk the eggs, vanilla, salt, and remaining sugar into the yeast mixture. Whisk in about half the flour, then the melted butter.
- Knead: Attach the dough hook and add the rest of the flour. Knead on medium speed for 5-7 minutes. The dough should be smooth and elastic. If it’s sticky, add a teaspoon of flour at a time.
- First Rise: Transfer the dough to a lightly oiled bowl. Cover and let it rise in a warm, draft-free spot for 1.5-2 hours, or until it’s doubled in size.
- Make the Topping: While the dough rises, mix the flour and powdered sugar in a bowl. Add the very soft butter and vanilla, mixing until a smooth, thick paste forms.
- Shape and Top: Punch down the risen dough and divide it into 12 equal pieces. Roll each into a ball. Flatten a portion of the topping for each bun and gently press it on top.
- Score and Proof: Use a sharp knife to score a shell pattern into the topping. Cover and let the conchas rise for another 30 minutes. Meanwhile, preheat your oven to 350°F.
- Bake: Bake for 18-20 minutes, or until the bottoms are golden.
Notes
- Serving Suggestions: Conchas are best served warm, fresh from the oven. They pair beautifully with a cup of Mexican hot chocolate or coffee.
- Tips & Tricks: Using room-temperature eggs is crucial for a soft, smooth dough. Don’t add too much flour during kneading, as this can make the conchas dry.
- Storage & Reheating: Store cooled conchas in an airtight container for up to 3 days at room temperature. To reheat, pop them in a 350°F oven for 5 minutes. They’ll taste like they were just baked! You can also freeze the unbaked dough balls and bake them later.