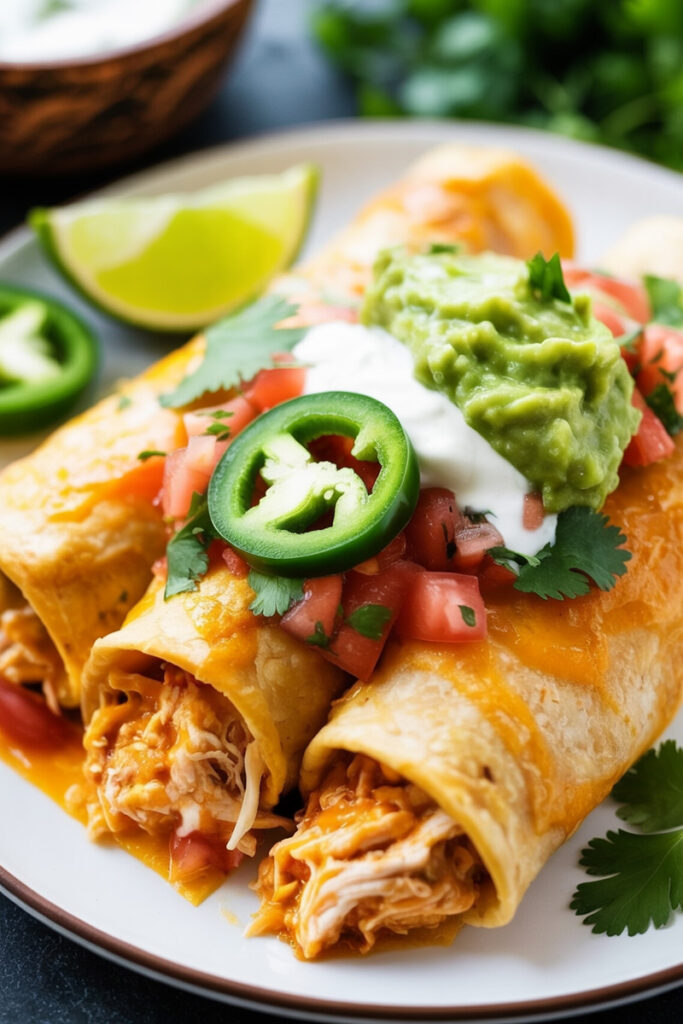
Hey, everyone! Today, I’m sharing one of my all-time favorite comfort foods: baked chicken chimichangas. The name “chimichanga” is a funny one. Legend has it, a chef accidentally dropped a burrito into a deep fryer, let out a swear word, and then quickly changed it to a silly, made-up word. The result? A deep-fried burrito.
But here’s the thing: you don’t need a deep fryer to get that same, satisfying crunch. My version of this classic gives you all the flavor and golden-brown goodness, but with way less mess. We’re baking them, not frying them. The good news? It’s the perfect mix of crispy tortilla, juicy chicken, and gooey cheese.
The Breakdown
- Prep Time: 10 minutes (seriously!)
- Cook Time: 25 minutes
- Total Time: 35 minutes
- Servings: 6 chimichangas. This is perfect for a family dinner or a small get-together. Need more? Just double or triple the recipe.
- Difficulty: This is a fantastic recipe for beginners. If you can roll a burrito, you can make these.
- What you’ll need: A mixing bowl, a microwave-safe plate, a large baking sheet, a pastry brush, and some aluminum foil or parchment paper. No fancy tools required.
Make it a Meal (and Make it Ahead)
This recipe is a lifesaver for meal prep. You can assemble the chimichangas a day ahead of time and keep them in the fridge. Or, you can make the filling up to two days in advance.
My favorite part? You can even freeze them. Just wrap each one in plastic wrap and store them in a freezer-safe bag. They’ll last up to three months. When you’re ready to eat, just pop them in the oven straight from the freezer—no thawing needed.
Scaling the Recipe
| Servings | Tortillas | Shredded Chicken | Monterey Jack Cheese | Cheddar Cheese |
| 6 | 6 | 3 cups | ¾ cup | ¾ cup |
| 12 | 12 | 6 cups | 1½ cups | 1½ cups |
| 18 | 18 | 9 cups | 2¼ cups | 2¼ cups |
Ingredients
The key to a killer chimichanga is a simple, flavorful filling. We’re talking just a handful of ingredients here.
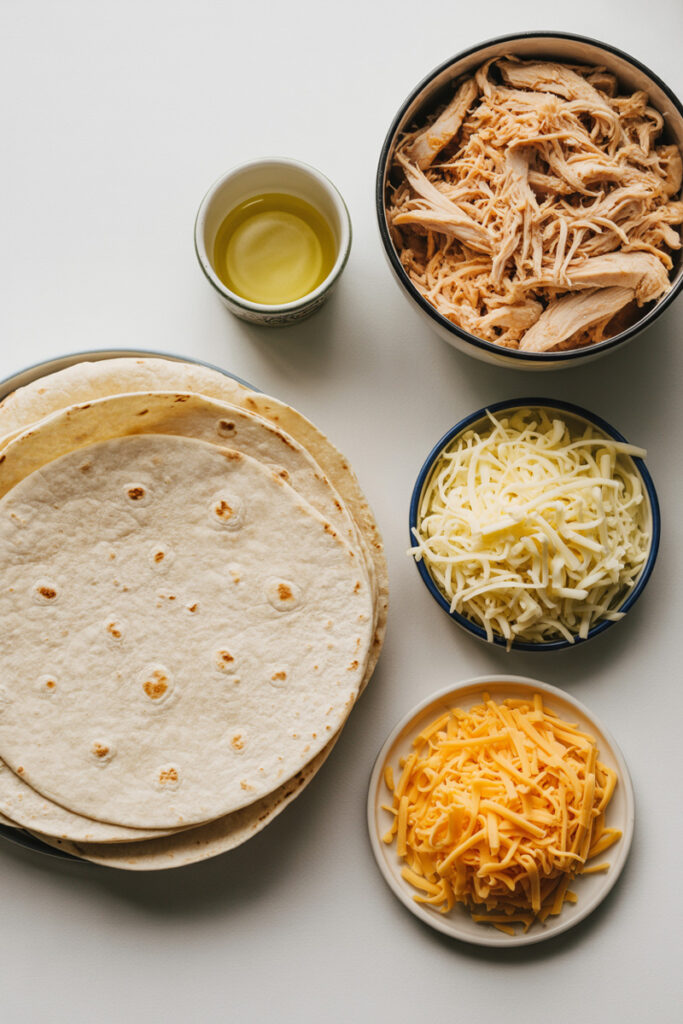
- 6 burrito-sized flour tortillas. I always go for the bigger ones. They hold more filling and make for a more substantial meal.
- 3 cups of shredded Mexican chicken. This is a great way to use up leftovers. Or, for a quick shortcut, grab a rotisserie chicken from the store. My go-to move.
- ¾ cup shredded Monterey Jack or Pepper Jack cheese. This cheese melts beautifully.
- ¾ cup shredded cheddar cheese. This adds that nice, sharp flavor.
- 2–3 tablespoons melted butter or vegetable oil. This is the secret to that crispy, golden exterior.
Toppings: This is where you can get creative. I love a dollop of guacamole, some sour cream, fresh salsa, or a sprinkle of chopped cilantro. For a little heat, add some sliced jalapeños.
Step-by-Step Method
Ready to get cooking? I’ll walk you through my process and share some of my favorite tips to make sure your chimichangas come out perfect every single time.
1. Get Your Oven Ready
First, preheat your oven to 400°F. While it’s heating up, line a large baking sheet with foil or parchment paper. Trust me on this one—it makes cleanup a total breeze.
2. Soften the Tortillas
This step is crucial. If your tortillas aren’t soft and pliable, they will crack and break when you try to roll them. No one wants that. Just stack them, wrap them in a slightly damp paper towel, and microwave for 20-25 seconds. They’ll come out warm and easy to work with.
3. Mix and Assemble
In a small bowl, mix your cheeses together. The filling itself is just the shredded chicken. But here’s a tip: make sure you drain any excess liquid from the chicken first. This keeps your chimichangas from getting soggy.
Now, grab a softened tortilla. Lay it flat and sprinkle some cheese in the center, leaving a couple of inches of space around the edges. Add about a third of a cup of shredded chicken, then top with a little more cheese.
4. The Art of the Roll
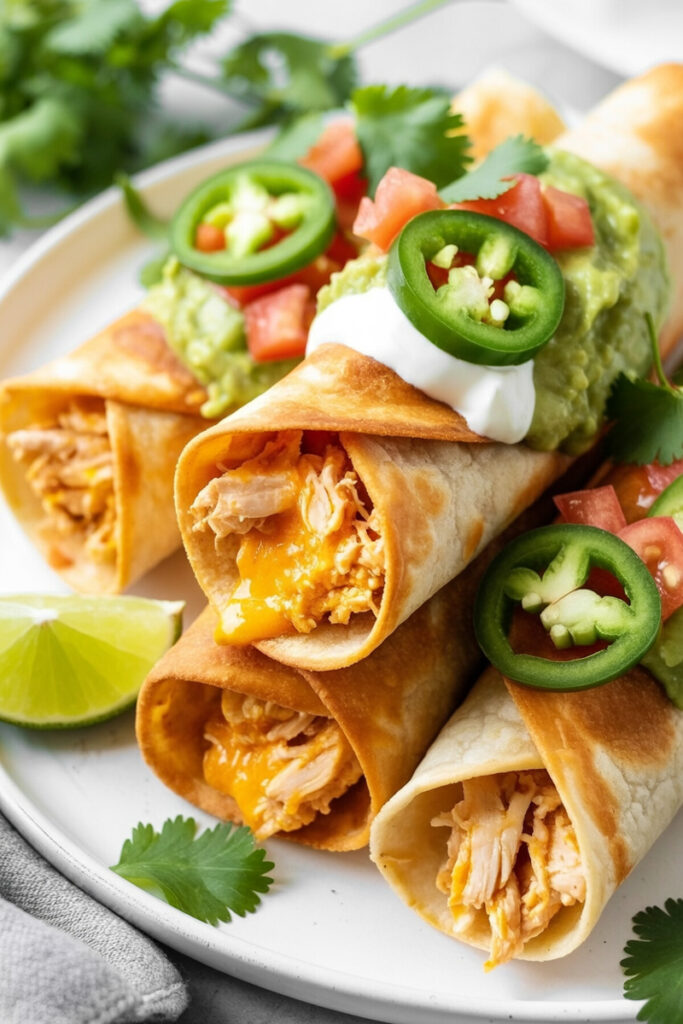
This is the fun part. Fold the bottom edge of the tortilla over the filling, then fold in the sides—like you’re wrapping a little gift. This “envelope” fold is key to sealing in all that deliciousness. Finally, roll the whole thing up tightly. Place it seam-side down on your baking sheet. The weight of the chimichanga will help keep the seam closed.
5. Bake to Perfection
With all your chimichangas on the baking sheet, it’s time to get that beautiful, crispy finish. Brush each one generously with melted butter or oil. This is what gives you that fried-like texture without the deep fryer.
Pop them in the oven and bake for 25-30 minutes. You’re looking for a crispy, golden-brown color. You’ll know they’re ready when you see the cheese bubbling and your kitchen smells absolutely incredible.
Making it Your Own
This recipe is a great starting point, but it’s so easy to customize.
- Filling: Not a fan of chicken? Use seasoned black beans and corn for a vegetarian option. Or try pulled pork or ground beef.
- Spice: If you like some heat, use Pepper Jack cheese instead of Monterey Jack. You can also mix some hot sauce or diced jalapeños into the chicken filling.
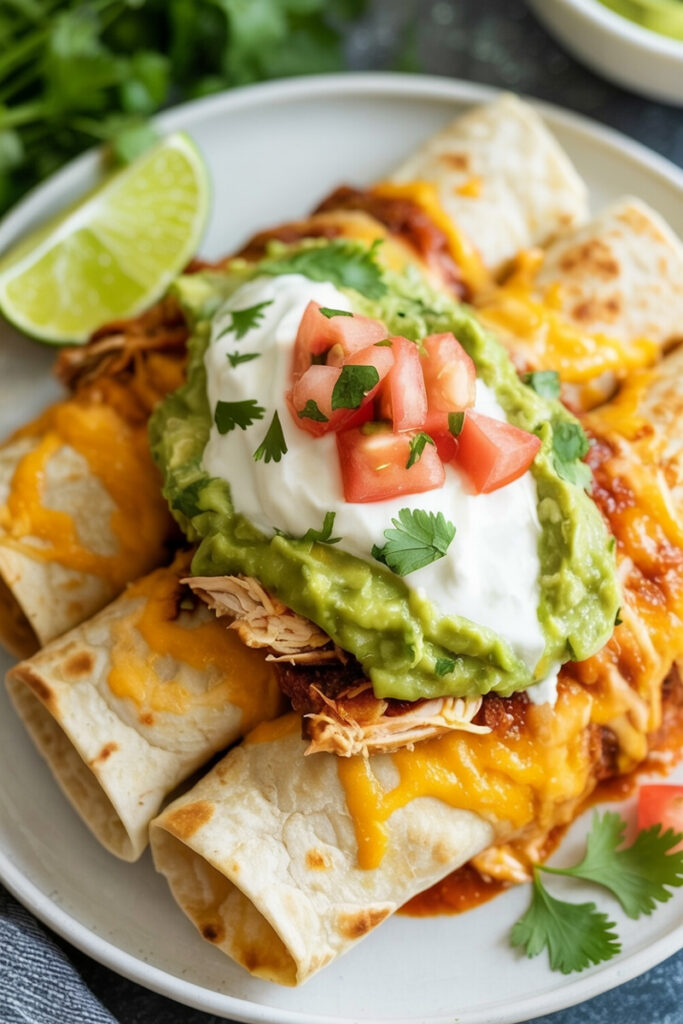
- Serving: For a simple weeknight meal, a dollop of sour cream or store-bought salsa is perfect. For a fancier look, serve them with homemade guacamole and a fresh pico de gallo.
Serving and Storage
Okay, your chimichangas are ready. The kitchen smells amazing.
Serving: Let them cool for just a few minutes—they’ll be hot. Arrange them on a platter and serve with small bowls of your favorite toppings. They’re great on their own, but also go well with a side of Mexican rice or a simple salad.
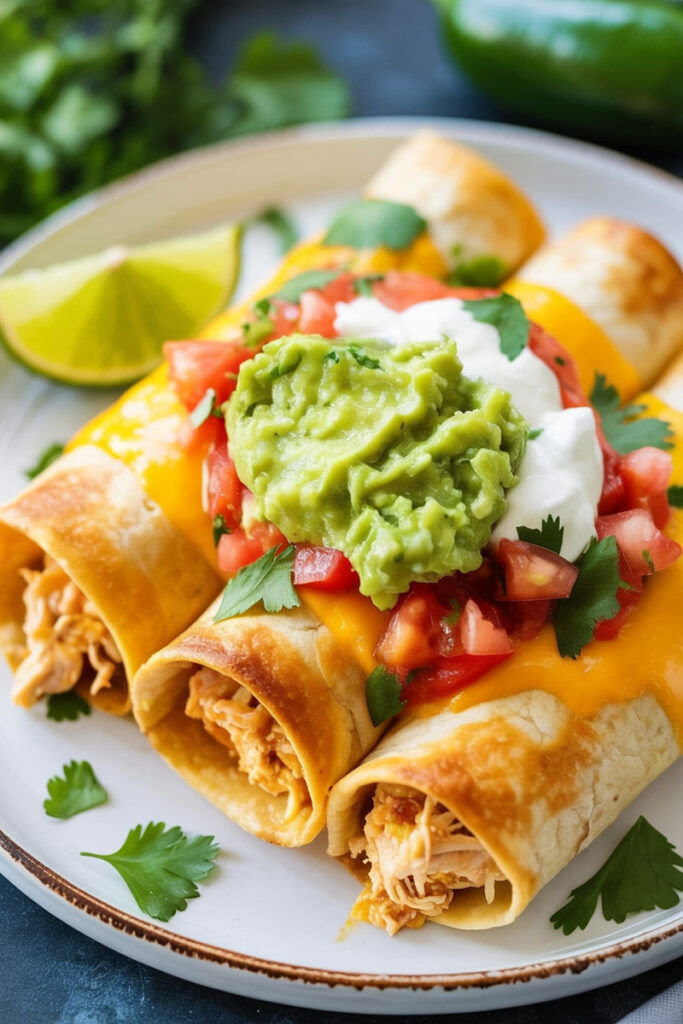
Storing: Leftovers? Put them in an airtight container in the fridge for up to 3 days. They might lose some of their crispiness, but they’ll still be delicious.
Reheating: To get that crispiness back, put them on a baking sheet and pop them in a 400°F oven for about 10 minutes. An air fryer also works wonders—350°F for 5 minutes. A word of caution: the microwave will make them soggy.
PrintBaked Chicken Chimichangas
A fresh take on a classic! Get all the crunch and flavor of a deep-fried chimichanga, but with way less oil and mess. This recipe is a simple, baked version of a beloved comfort food, perfect for a quick weeknight dinner or a casual get-together.A fresh take on a classic! Get all the crunch and flavor of a deep-fried chimichanga, but with way less oil and mess. This recipe is a simple, baked version of a beloved comfort food, perfect for a quick weeknight dinner or a casual get-together.
- Prep Time: 10 mins
- Cook Time: 25 mins
- Total Time: 35 mins
- Yield: 6 1x
- Category: Main Course
- Cuisine: Mexican-American
Ingredients
- 6 burrito-sized flour tortillas
- 3 cups shredded Mexican chicken
- ¾ cup shredded Monterey Jack or Pepper Jack cheese
- ¾ cup shredded cheddar cheese
- 2–3 tablespoons melted butter or vegetable oil
Instructions
- Preheat your oven to 400°F. Line a large baking sheet with aluminum foil or parchment paper.
- Wrap your tortillas in a slightly damp paper towel and microwave for 20-25 seconds. They’ll be warm and flexible.
- Mix the cheeses in a small bowl.
- Lay a tortilla flat. Sprinkle a little cheese in the center, add about ⅓ cup of shredded chicken, then top with more cheese.
- Fold the bottom edge over the filling, tuck in the sides like an envelope, and roll it up tightly. Place it seam-side down on the baking sheet.
- Brush each chimichanga generously with melted butter or oil.
- Bake for 25-30 minutes, until they are crispy and golden-brown.
Notes
- Serving Suggestions: Top with guacamole, sour cream, salsa, or fresh cilantro. Pairs well with Mexican rice or a simple salad.
- Tips & Tricks: Use a rotisserie chicken for an easy shortcut. To prevent soggy chimichangas, make sure to drain any liquid from the chicken filling.
- Storage & Reheating: Store leftovers in an airtight container in the fridge for up to 3 days. To reheat and re-crisp, put them back on a baking sheet in a 400°F oven for about 10 minutes. Avoid the microwave to keep them from getting soggy.