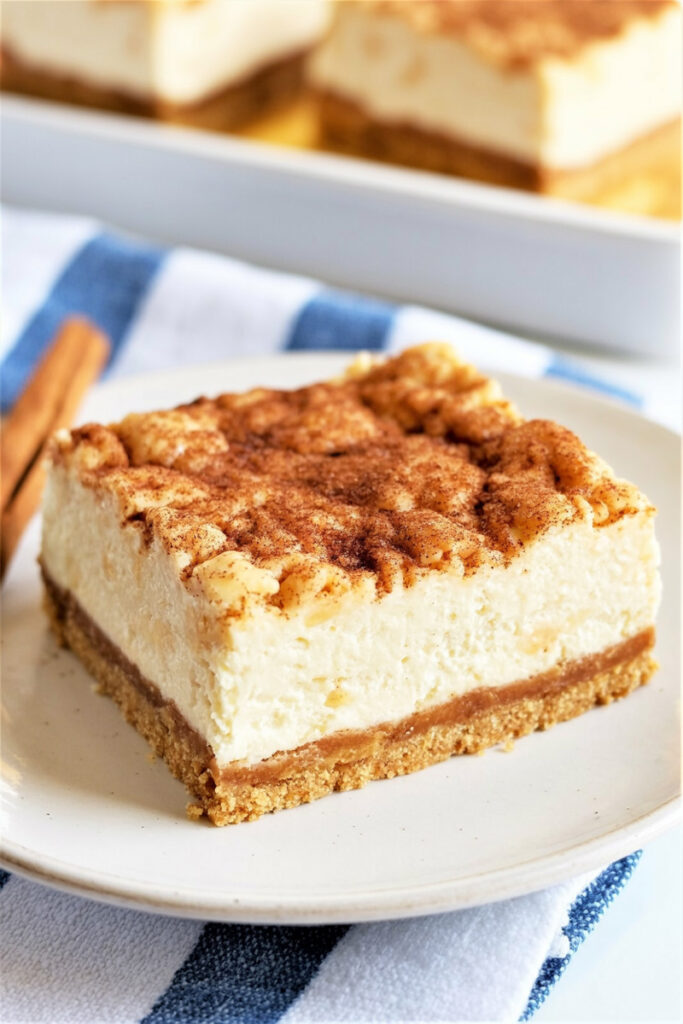
There are some desserts that just make you feel all warm and fuzzy inside. For me, these Sopapilla Cheesecake Bars are at the very top of that list. This dish is the perfect marriage of two classics: the creamy, smooth richness of a cheesecake and the light, flaky texture of a traditional sopapilla.
Sopapillas are a type of fried pastry, a staple in Mexican and Tex-Mex food. They’re often served warm with a drizzle of honey and a dusting of cinnamon sugar. Cheesecake, on the other hand, is probably a dessert you’re more familiar with. The genius of this recipe? It gives you all those iconic flavors without a deep-fryer. Seriously! You get that wonderfully light and airy texture from refrigerated crescent roll dough, and a rich cream cheese filling that’s all about that creamy, cheesecake tang.
This version is so popular online because it delivers on all the flavor without any of the fuss. It’s the perfect dessert for a potluck, a family dinner, or whenever you need a little sweet comfort.
Your Game Plan for Baking
The good news? This recipe is incredibly forgiving and perfect for a home baker of any skill level. It’s truly a “dump and go” dessert that looks way more complicated than it actually is.
Prep and Cook Time:
- Prep Time: 20 minutes
- Cook Time: 30-40 minutes
- Total Time: About 1 hour
Servings and Scaling Tips:
This recipe, as written, makes 12 generous servings in a 9×13-inch pan, which is awesome for a crowd. But what if you’re making it for a smaller family gathering? No sweat. You can easily halve the recipe and bake it in an 8×8-inch pan.
| Pan Size | Crescent Rolls | Cream Cheese | Sugar (for filling) |
| 9×13-inch | 2 tubes | 16 oz | 1 cup |
| 8×8-inch | 1 tube | 8 oz | ½ cup |
Difficulty Level:
Super easy. The most challenging part is simply unrolling the dough. You’ve got this.
Equipment Needed:
- A 9×13-inch baking dish
- A medium mixing bowl
- An electric hand mixer (or a stand mixer, or even just a whisk and some elbow grease!)
- A spatula
- A small bowl for the cinnamon-sugar topping
Make-Ahead/Meal Prep Options:
This is one of those desserts you can make up to a day ahead. Just bake it, let it cool completely, and then cover it and put it in the fridge. This is a game-changer for busy hosts.
The Ingredients: The Building Blocks of Deliciousness
This recipe shines because of its simple, high-quality ingredients. Here’s a little more on each one and how they work together.
Full List with Measurements:
- 2 (8 ounce) tubes refrigerated crescent rolls (or crescent roll dough sheets)
- 2 (8 ounce) packages cream cheese, softened
- 1 cup sugar
- 1 teaspoon vanilla extract
- 4 Tablespoons salted butter, melted
- ½ cup granulated sugar
- 1 teaspoon ground cinnamon
Ingredient Notes & Substitutions:
The beauty of this recipe is that it’s incredibly adaptable. You can use classic crescent rolls and just pinch the seams together, or you can opt for the dough sheets which make the bottom and top layers even easier.
When it comes to the cream cheese, the most important thing is that it is fully softened to room temperature. This is a critical step for getting a smooth, lump-free filling. If you try to mix cold cream cheese, you’ll end up with a grainy texture you just can’t get rid of. Trust me on this. For a little extra flair, you could even try Mexican vanilla extract, which has a slightly different flavor profile that pairs wonderfully with the cinnamon.
For the butter, I personally love using salted butter because that touch of salt in the topping creates a wonderful contrast with the sweet cinnamon-sugar, but unsalted will work just as well.
Step-by-Step Method: Let’s Get Cooking!
Ready? Let’s put it all together. Imagine we’re side-by-side in the kitchen, and I’ll walk you through each step.
1. Prep the Pan and Oven: First things first, go ahead and preheat your oven to 350°F. While it’s warming up, grab your 9×13-inch baking dish and give it a good spray with nonstick cooking spray. I love the kind with flour in it; it just gives me peace of mind that nothing will stick!
2. Lay the Foundation: Now, let’s unroll that first tube of crescent rolls. Gently lay the dough in the bottom of the pan. You’ll see the seams where the triangles were—just use your fingers to press them together until you have a solid, single layer. Don’t worry about making it perfect; it’s a very forgiving dough.
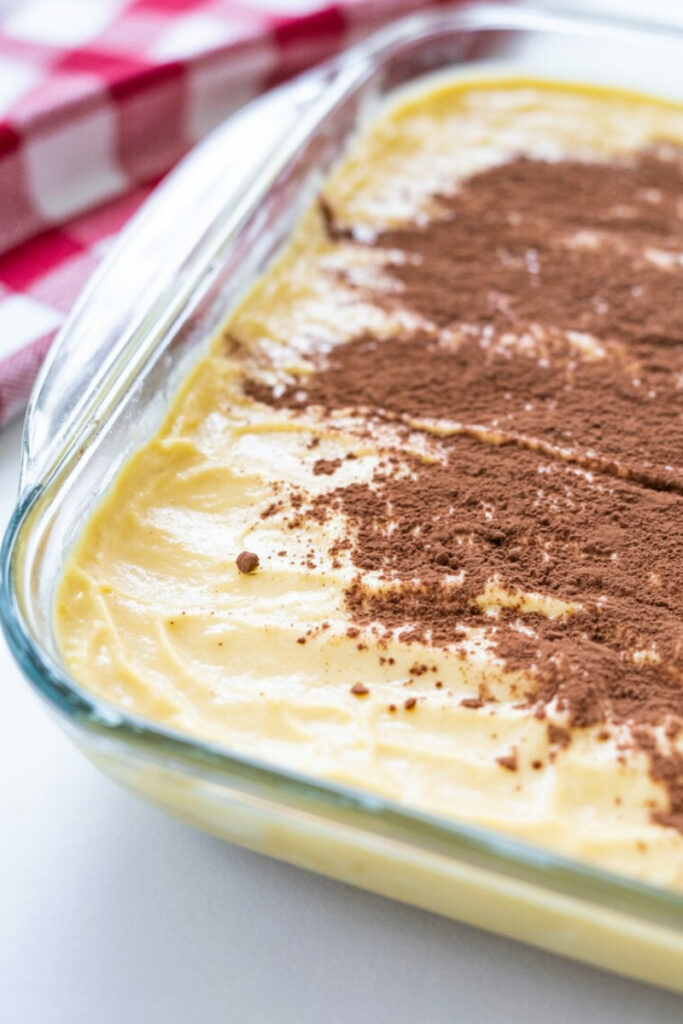
3. Whip up the Creamy Filling: Grab your medium-sized bowl and let’s make the heart of this dish. Drop in your softened cream cheese, the 1 cup of sugar, and the vanilla extract. Using your hand mixer, beat the ingredients on medium speed. The magic here is watching the mixture transform from a lumpy mess into something incredibly smooth, blended, and silky. This is where using room-temperature cream cheese really pays off!
4. Layer and Lock it in: Now for the fun part! Use your spatula to spread that decadent cream cheese mixture evenly over the bottom layer of crescent dough, making sure you get it all the way to the edges. Once that’s done, unroll your second tube of crescent rolls and lay it right on top. This is your top crust, so again, press the seams together to create a single sheet.
5. Create the Golden Topping: In a separate, small bowl, combine the remaining ½ cup of sugar with the ground cinnamon. Give it a good whisk with a fork. Next, drizzle that melted butter all over the top layer of dough. The butter will help create a golden, crispy crust and ensure the cinnamon-sugar topping sticks. Once the butter is on, sprinkle your cinnamon-sugar mixture evenly over the top, making sure every inch is covered. This is what gives the bars their signature Sopapilla look and flavor!
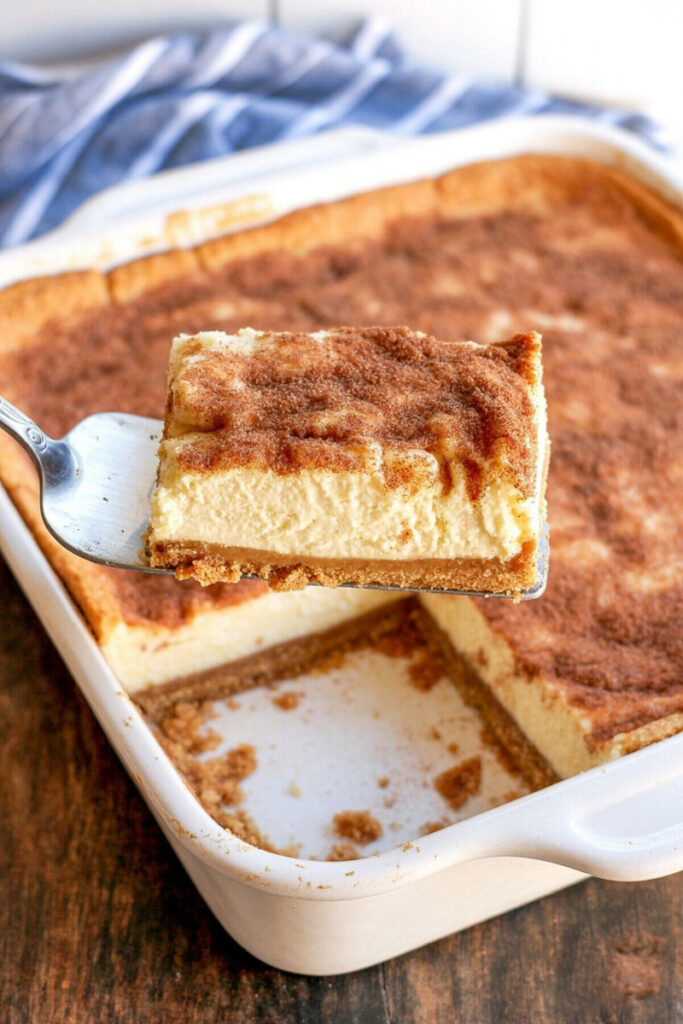
6. Bake to Perfection: Pop that pan into your preheated oven. Let it bake for 30-40 minutes. You’re looking for a beautiful, light golden-brown color on top. The crescent dough will puff up and the whole pan will smell like a warm, cinnamon-filled cloud. Once it looks just right, pull it out and set it aside.
Variations & Customization: Get Creative!
This recipe is a wonderful canvas for your culinary imagination. The core formula is so solid, you can add your own personal touch without worry.
- Make it a Fruit Delight: For a little extra something, add a layer of canned pie filling (like apple, cherry, or peach) on top of the cream cheese layer before adding the top crescent roll sheet. This is a classic adaptation that’s always a huge hit.
- Add a Spicy Kick: For an unexpected flavor twist, add a pinch of cayenne pepper to your cinnamon-sugar topping. It won’t make it spicy, but it will add a subtle warmth that elevates the flavor.
- A “Fancy” Version: To make this dessert feel more elegant, you can add some citrus zest (like orange or lemon) to the cream cheese filling. You could also sprinkle some chopped nuts (pecans or walnuts work well) on top of the cinnamon-sugar before baking.
Dietary Modifications:
- For a gluten-free version, simply swap out the regular crescent rolls for a gluten-free refrigerated dough.
- For a vegan-friendly version, you can substitute the cream cheese and butter with vegan alternatives—just make sure your crescent roll dough is also vegan.
Serving & Storage: Enjoying Every Last Bite
The moment you’ve been waiting for! How to serve and store your masterpiece.
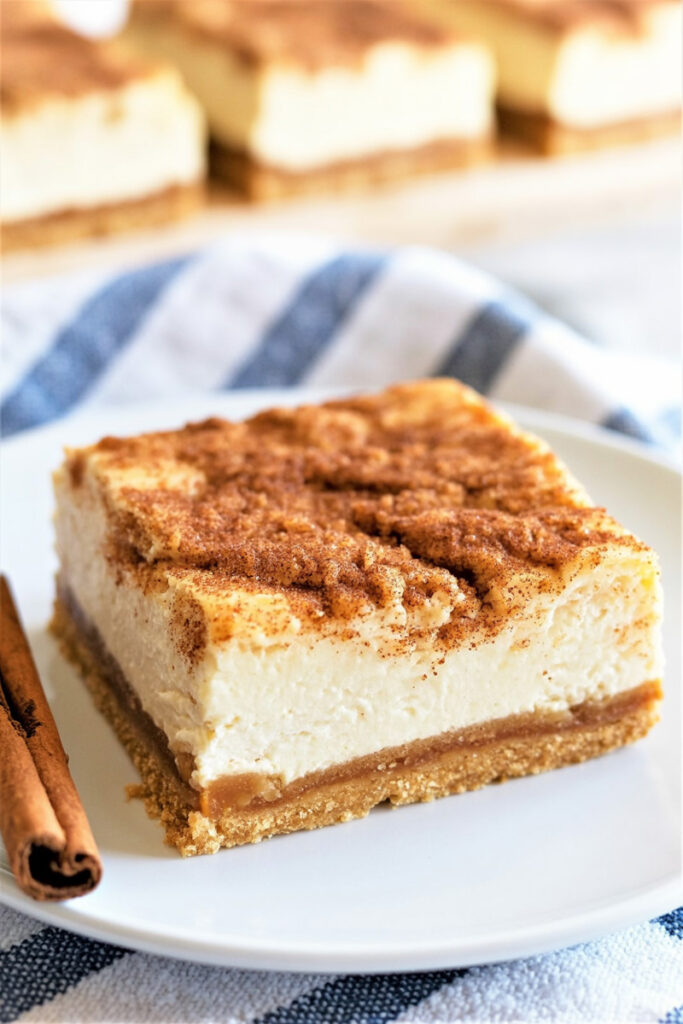
Serving Suggestions: While this dessert is delicious on its own, for an authentic Sopapilla experience, I highly recommend drizzling a little honey on top right before you serve it. You can serve it warm with a scoop of vanilla ice cream, or chilled with a dollop of whipped cream. Just a heads up—the bars will be much cleaner and easier to cut once they have completely cooled and firmed up, so be patient!
Storage Instructions: If you have any leftovers (a big “if”!), they can be stored in an airtight container in the refrigerator for up to 3-4 days. The flavors will continue to meld and deepen over time.
Reheating Tips: To enjoy the bars warm again, you can place a slice on a plate and microwave for 15-20 seconds. For a crispier crust, you can warm them in a 300°F oven for about 5-10 minutes.
Freezing Guidance: If you want to freeze them, wrap individual bars tightly in plastic wrap and then place them in a freezer-safe bag or container. They can be frozen for up to 2-3 months. To serve, thaw them in the refrigerator overnight and then reheat as desired.
PrintSopapilla Cheesecake Bars
This recipe is a true classic for a reason. It’s the perfect blend of creamy cheesecake, flaky pastry, and a warm cinnamon-sugar topping that feels like a hug in a dessert. Best of all? It’s so easy, you’ll feel like you’re cheating.
- Prep Time: 20 minutes
- Cook Time: 30-40 minutes
- Total Time: ~1 hour
- Yield: 12 1x
- Category: Dessert
- Cuisine: American, Tex-Mex
Ingredients
- 2 (8 oz) tubes refrigerated crescent rolls
- 2 (8 oz) packages cream cheese, softened
- 1 cup sugar
- 1 tsp vanilla extract
- 4 Tbsp salted butter, melted
- ½ cup granulated sugar
- 1 tsp ground cinnamon
Instructions
- Prep the oven and pan: Preheat your oven to 350°F. Grease a 9×13-inch baking dish with nonstick spray.
- Lay the base: Unroll the first tube of crescent rolls and lay it in the bottom of the pan. Pinch the seams together to form a solid layer.
- Make the filling: In a medium bowl, use a hand mixer to beat the softened cream cheese, 1 cup of sugar, and vanilla until the mixture is smooth and lump-free.
- Layer it up: Spread the creamy filling evenly over the crescent dough in the pan. Unroll the second tube of crescent rolls and lay it on top of the filling, pinching the seams together to create the top crust.
- Add the topping: In a small bowl, whisk the remaining ½ cup of sugar with the cinnamon. Drizzle the melted butter over the top crescent dough, then sprinkle the cinnamon-sugar mixture evenly over the butter.
- Bake: Bake for 30-40 minutes, until the top is a beautiful golden brown. Let it cool before serving.
Notes
- Serving Suggestions: This dessert is amazing on its own, but for a true sopapilla vibe, drizzle some honey on top just before serving. A scoop of vanilla ice cream is also a great idea.
- Tips & Tricks: The most important step is making sure your cream cheese is at room temperature. This is key for a smooth, velvety filling.
- Storage & Reheating: Store any leftovers in an airtight container in the fridge for 3-4 days. To reheat, microwave a slice for 15-20 seconds for a quick treat, or warm it in a 300°F oven for 5-10 minutes for a crispy crust.