Let’s be real. Tacos are the best.
They’re just pure, uninhibited fun. From the ancient Mexican roots of tortillas to the vibrant street food culture of today, tacos have become a canvas for a thousand different flavors.
This version? It’s inspired by simple, bold Mexican cooking. But I’ve added a modern twist for those busy weeknights.
The secret? A simple stovetop method. This delivers a rich, flavorful filling without the long cooking times of a slow cooker.
The result? Flavor-Packed Shredded Chicken Tacos. A true weeknight hero. You don’t need to spend hours in the kitchen to make something delicious.
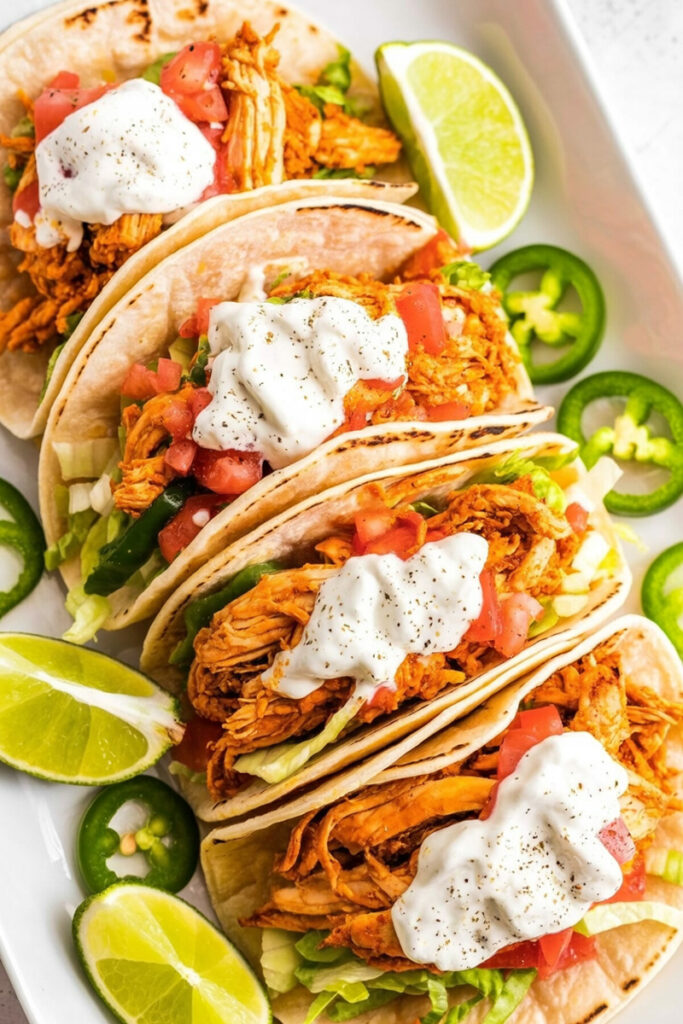
Why this recipe works
This recipe is built for speed and flavor. It’s perfect for those nights when you need a satisfying meal on the table in minutes.
We’ll start by gently poaching the chicken. This keeps it moist and tender. Then, we shred it and coat it in a simple, savory sauce.
- Prep and Cook Time: This whole dish comes together in just 25 minutes. 5 minutes for prep, 20 minutes for cooking. That means you can have a fresh, hot meal ready in the time it takes to watch a sitcom.
- Servings and Scaling: This recipe makes 6 generous servings. Perfect for a family dinner. You can easily scale it up or down. For a crowd, check out the table below.
- Difficulty Level: This is an easy one. If you can chop an onion and use a skillet, you can make this. It’s great for beginners and a reliable standby for seasoned cooks.
- Equipment Needed: The beauty of this recipe is its simplicity. You’ll only need a small saucepan and a large skillet. You can also use a Dutch oven or a large pot instead of the skillet.
- Make-Ahead/Meal Prep: This is one of my favorite meal prep dishes! The shredded chicken filling can be made up to 3 days ahead of time. Just store it in an airtight container in the fridge. For a quick meal, simply reheat the filling and build your tacos.
| Servings | Chicken (lbs) | Oil (tsp) | Onion (minced) | Salsa (cups) |
| 3 | 0.75 | 1 | 1/4 | 1/4 |
| 6 | 1.5 | 2 | 1/2 | 1/2 |
| 12 | 3 | 4 | 1 | 1 |
The Ingredients
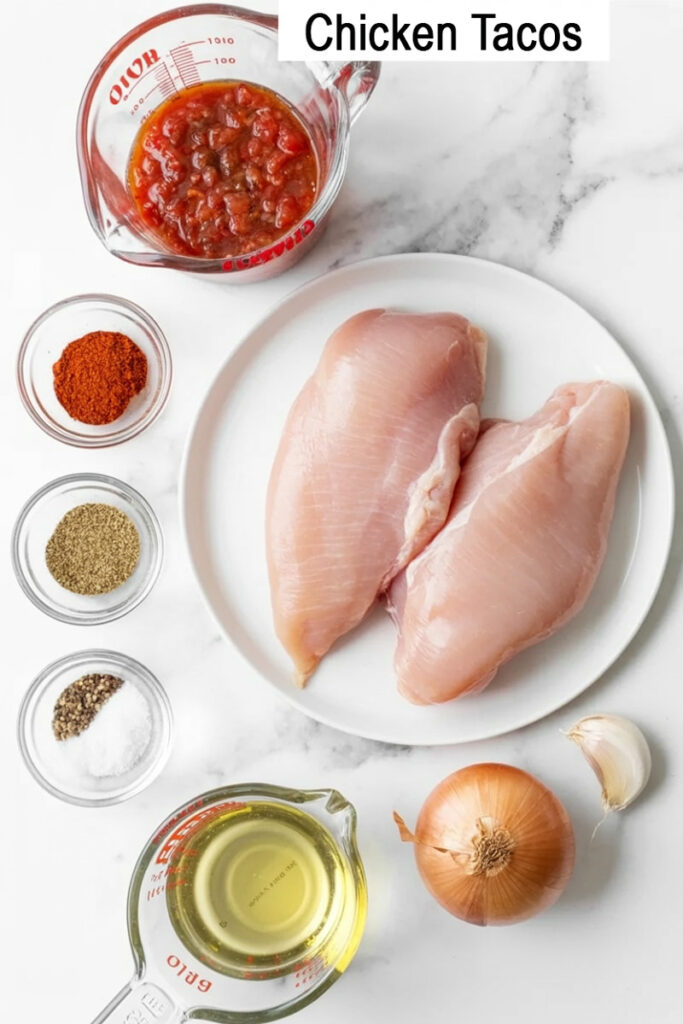
The secret to a great taco is a simple, high-quality ingredient list. You don’t need a pantry full of spices to get amazing results. This recipe focuses on simple staples that deliver a huge punch of flavor.
You’ll need about 1 ½ pounds of boneless, skinless chicken breasts. Pro tip? For an even juicier, richer flavor, use chicken thighs instead. They hold up better to poaching and shredding.
For the sauce base, you’ll need 2 teaspoons of vegetable oil, a ½ yellow onion, and 2 cloves of garlic. I always use fresh garlic and onion. The smell they release when they hit the hot pan is truly the start of something special.
Our spice blend is classic taco perfection:
- 1 teaspoon of ground cumin
- 1 teaspoon of dried oregano
- 1 teaspoon of chili powder
- 1 teaspoon of salt
You can use a pre-made taco seasoning packet, but I find mixing your own gives you more control. The cumin adds smoky depth, the oregano brings an earthy warmth, and the chili powder provides a gentle heat.
Finally, you’ll need ½ cup of your favorite salsa. This is where you can truly make it your own. A chunky, mild salsa is perfect for a family-friendly meal. Want a kick? Go for a spicy salsa verde or chipotle salsa.
Step-by-Step Method
Let’s get cooking! The key here is to build flavor at every stage. We’ll start by poaching the chicken, which is a gentle way to keep the meat super tender and moist. Then, we’ll build a rich, savory base in our skillet to marry with the shredded chicken.
1. Poach the chicken with care.
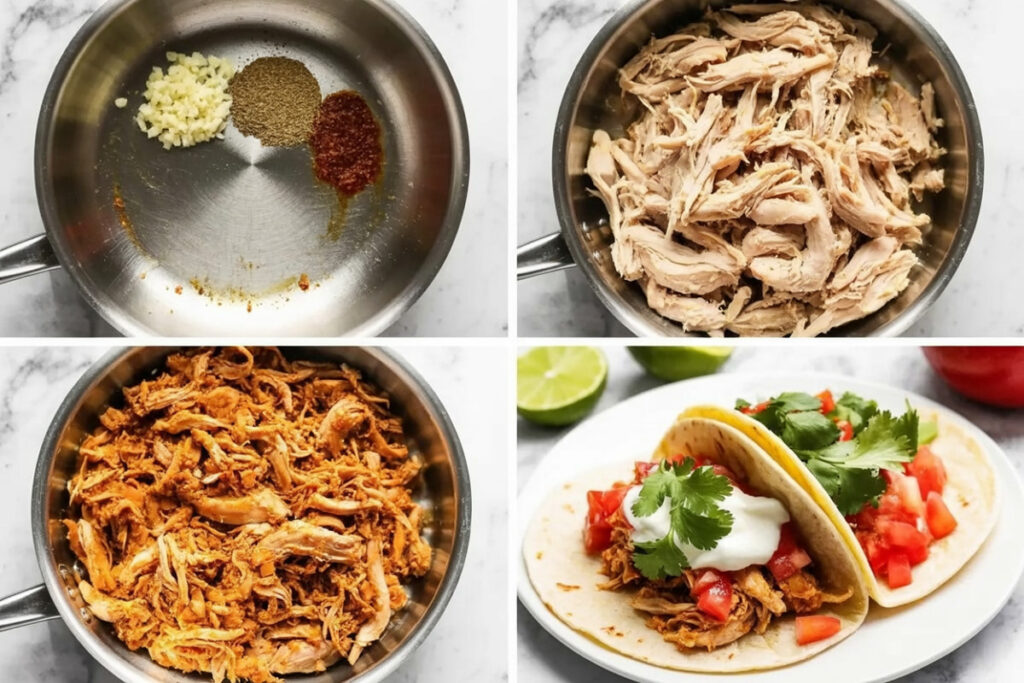
Put your chicken breasts in a saucepan and cover them with cool water. Bring the water to a boil, then immediately reduce the heat to a gentle simmer. This is important! A rolling boil will toughen the chicken.
Let it simmer for 10-12 minutes, or until the internal temperature reaches 165°F (74°C). The visual cue? The meat should be opaque and firm.
A common mistake is overcooking the chicken. This makes it dry and stringy instead of tender. A kitchen thermometer is your best friend here.
2. Shredding for texture.
Once the chicken is cooked, transfer it to a cutting board or a large bowl. While it’s still warm, grab two forks and shred it apart. It should pull apart easily. The texture you want is long, tender strands—perfect for soaking up the sauce.
3. Building the flavor foundation.
While the chicken is cooking, you can get a head start. In a skillet, heat your oil over medium heat. Add the minced onion and sauté for about 3 minutes. Stir occasionally until it’s soft and translucent. You’ll know it’s ready when your kitchen smells wonderfully sweet.
4. Awaken the spices.
Add the minced garlic and sauté for just 30 seconds. Don’t let it burn! Then, add the cumin, oregano, chili powder, and salt. Cook for another minute, stirring constantly. You’ll be able to smell the spices bloom as they toast in the oil. This deep, earthy, fragrant aroma tells you the base of our flavor is ready.
5. The final simmer.
Add your salsa to the skillet and mix it into the spices. If the salsa is thick, you can add a small splash of water to loosen it up. Let it warm through for a minute, then add the shredded chicken.
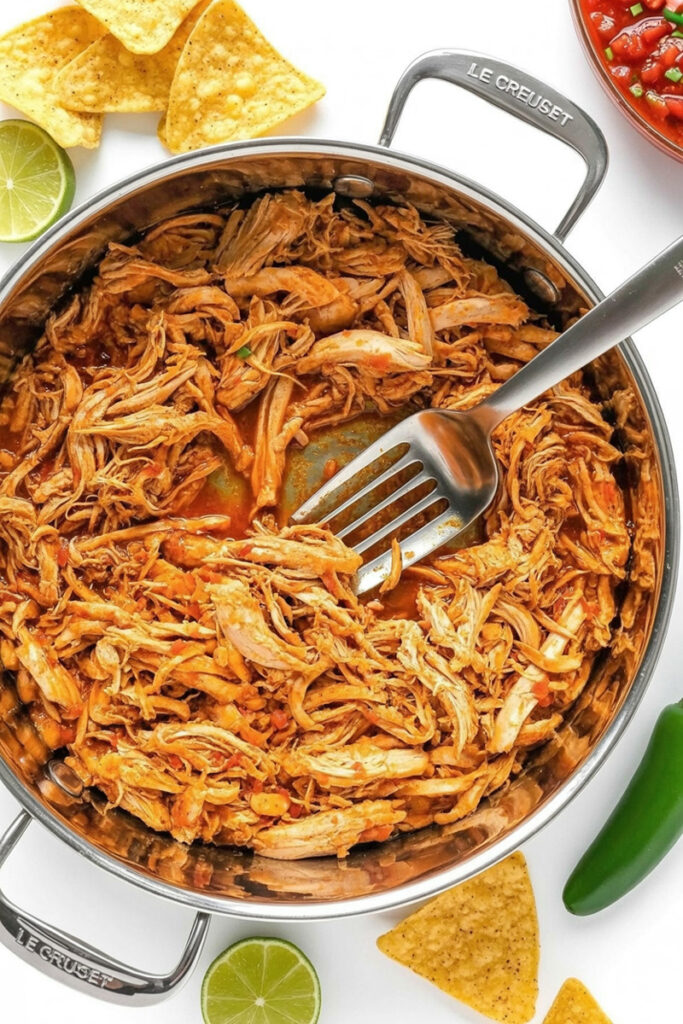
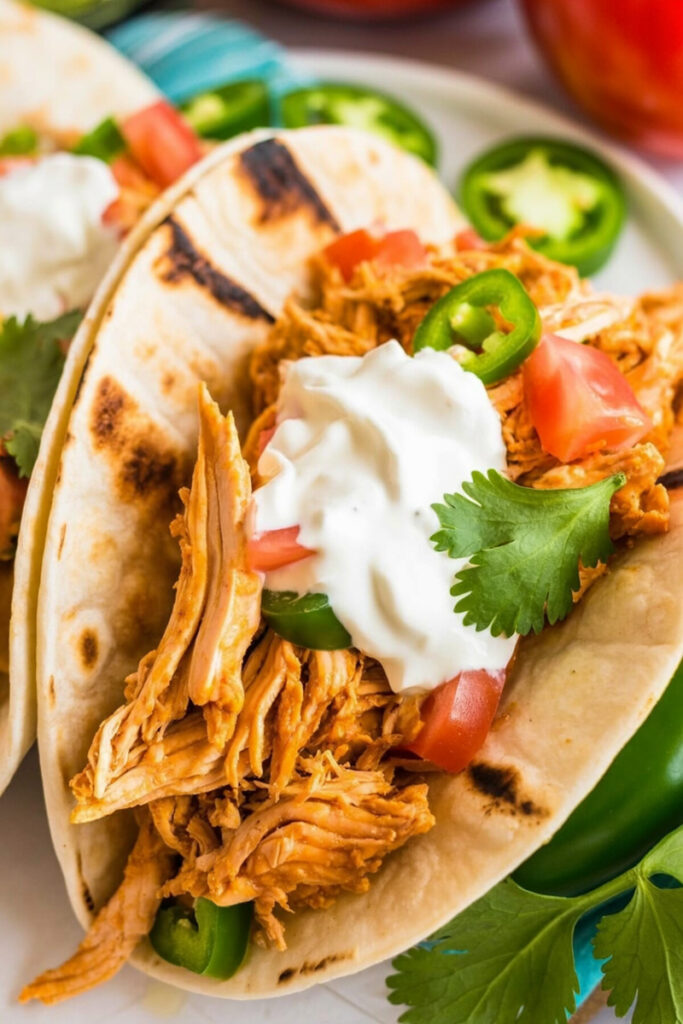
Toss everything together. Make sure every strand of chicken is coated in the flavorful sauce. Simmer for 2-3 minutes, just enough time for the chicken to heat through and absorb all that deliciousness. The final dish should look vibrant and juicy, with the shredded chicken glistening in the sauce.
Variations & Customization
This recipe is a fantastic starting point, but it’s also incredibly versatile. You can adapt it to fit any dietary needs, spice preferences, or just to use what you have on hand.
- Dietary modifications: To make this gluten-free, serve the chicken filling on corn tortillas or over rice. For a vegan version, use shredded jackfruit or pressed, crumbled tofu instead of chicken. It will give you a similar texture and soak up all the fantastic flavors from the sauce.
- Spice level adjustments: Our base recipe is a mild to medium heat. Want more heat? Add a pinch of cayenne pepper or a dash of your favorite hot sauce. For a smoky-spicy kick, stir in a teaspoon of chipotle chiles in adobo sauce.
- Fancy vs. everyday: For an everyday meal, this recipe is perfect as is. If you’re looking to make it special, consider using fire-roasted tomatoes and a splash of chicken broth instead of plain salsa for a deeper, more complex flavor.
- Seasonal adaptations: This recipe is great year-round. But you can add seasonal flair by using fresh corn and diced bell peppers in the summer or roasted sweet potato in the fall.
Serving & Storage
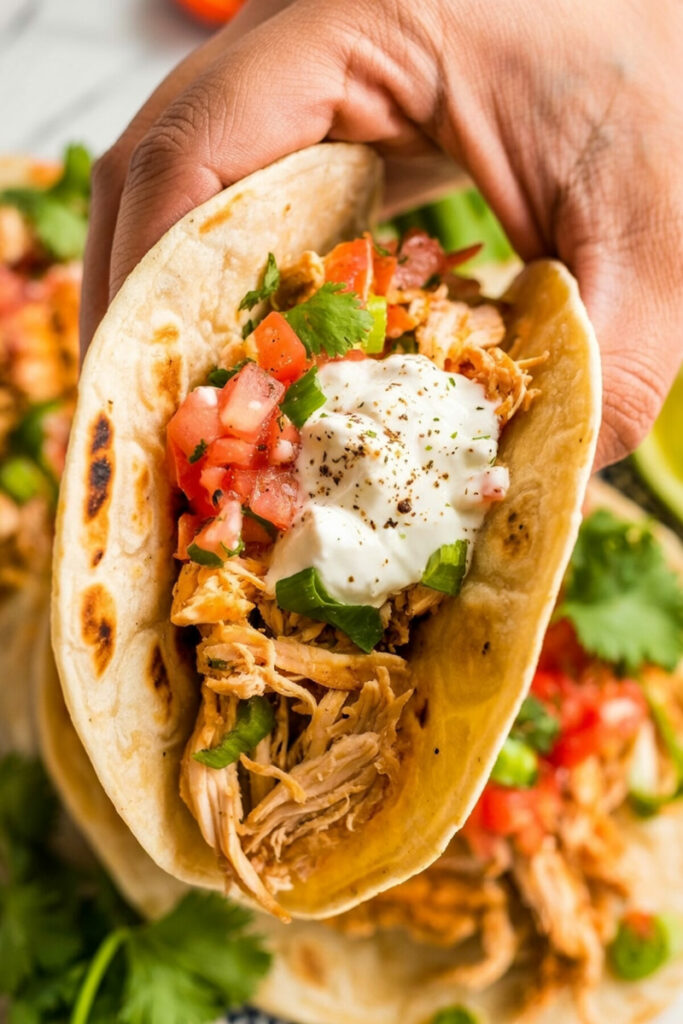
Now for the best part—eating! Once the chicken is ready, it’s time to build your perfect taco.
- Plating suggestions: Warm up your tortillas or taco shells. Spoon a generous amount of the filling into each one. Then, let your creativity shine with your favorite toppings! My go-to’s are shredded lettuce, diced tomatoes, a sprinkle of cheese, and a dollop of sour cream or crema. Fresh cilantro and a squeeze of lime are a must for that bright, finishing flavor.
- Best side dishes: This dish is a meal on its own, but it pairs beautifully with classic sides like Mexican rice, refried beans, or a simple side salad with a cilantro-lime dressing.
- Storage instructions: Leftovers are fantastic! Let the filling cool completely before putting it in an airtight container. It will keep in the fridge for up to 3-4 days.
- Reheating tips: To reheat, just place the chicken mixture in a skillet over medium heat, stirring until it’s hot. You can also microwave it in 30-second bursts. The chicken might dry out a little, so a splash of water or chicken broth will bring it back to life.
- Freezing guidance: The shredded chicken filling freezes beautifully. Let it cool completely, then put it in a freezer-safe bag or container. It will last for up to 3 months. When you’re ready to use it, let it thaw in the fridge overnight before reheating. This is a great way to have a homemade, ready-to-go meal on hand for busy days.
Shredded Chicken Tacos

Tacos are the ultimate weeknight meal—simple, fun, and full of flavor. This recipe gives you a rich, savory chicken filling in under 30 minutes. It’s my go-to for busy nights when I want something delicious without the fuss.
- Prep Time: 5 minutes
- Cook Time: 20 minutes
- Total Time: 25 minutes
- Yield: 6 1x
- Category: Main Dish
- Cuisine: Mexican
Ingredients
- 1 ½ pounds boneless, skinless chicken breasts (or thighs for juicier meat)
- 2 teaspoons vegetable oil
- ½ yellow onion, minced
- 2 cloves garlic, minced
- 1 teaspoon ground cumin
- 1 teaspoon dried oregano
- 1 teaspoon chili powder
- 1 teaspoon salt
- ½ cup of your favorite salsa
- Your choice of tortillas and toppings
Instructions
Poach the Chicken. Place the chicken breasts in a saucepan and cover with cool water. Bring to a boil, then immediately reduce to a gentle simmer. Cook for 10-12 minutes, or until the chicken reaches an internal temperature of 165°F (74°C).
2. Shred the Chicken. Once cooked, transfer the chicken to a cutting board. While still warm, use two forks to shred it into long, tender strands.
3. Build the Sauce. While the chicken cooks, heat the oil in a large skillet over medium heat. Sauté the minced onion for about 3 minutes until it’s soft and translucent. Add the minced garlic and cook for 30 seconds, then stir in the cumin, oregano, chili powder, and salt. Cook for one more minute until the spices are fragrant.
4. Combine & Simmer. Pour the salsa into the skillet and mix it with the toasted spices. Add the shredded chicken and toss everything together, making sure every piece is coated. Simmer for 2-3 minutes to let the flavors soak in.
5. Serve. Spoon the shredded chicken onto warm tortillas and add your favorite toppings!
Notes
- Serving Suggestions: This chicken filling is perfect for tacos, but it also works great in burritos, quesadillas, or over rice.
- Pro-Tip: Overcooking the chicken will make it tough and dry. A kitchen thermometer is the best way to make sure it’s perfectly tender.
- Storage & Reheating: Store the filling in an airtight container in the fridge for up to 3 days. To reheat, warm it in a skillet with a splash of water or chicken broth to keep it moist. You can also freeze the cooled filling for up to 3 months.