Hey there, friend! I’m so excited to share this recipe with you.
Mexican bakeries are a special place, aren’t they? Filled with so many delicious treats. And tucked among all the pastries are these little gems: Polvorones.
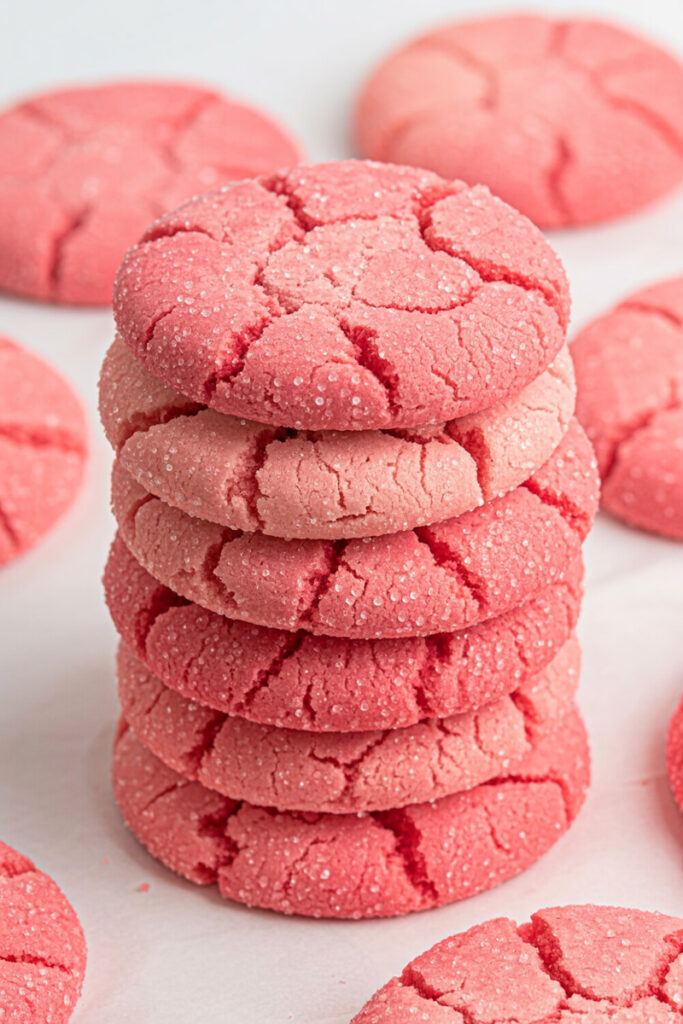
The pink ones are my favorite. They’re like a secret handshake—a symbol of celebration and comfort. And they’re super easy to make at home. So if you’re ready, I’ll walk you through my classic Mexican pink cookies recipe.
Getting Started
You’ll be happy to know this is a wonderfully simple recipe. I call it a great one for beginners and seasoned bakers alike.
The quick facts:
- Prep Time: 25 minutes
- Cook Time: 11-12 minutes
- Total Time: About 50 minutes. This includes time for the dough to come together and for the cookies to cool.
- Servings: About 24 cookies.
- Difficulty: Easy. It’s really hard to mess these up!
The good news? This is a fantastic make-ahead recipe. You can prepare the dough and store it in the fridge for up to three days. You can even freeze the flattened cookie discs for a few weeks. That means fresh-baked cookies are always just a moment away!
Equipment Needed
- Stand mixer with a paddle attachment: A must-have for whipping the shortening and sugar into a light, airy mixture. If you don’t have one, a handheld electric mixer works, too.
- Medium bowl: For your dry ingredients.
- Baking sheet & parchment paper: For a quick clean-up and to prevent the cookies from sticking.
- Small bowl: For rolling the sugar.
- A flat-bottomed measuring cup or glass: For flattening the cookies.
Ingredients: The Building Blocks of Flavor
The secret to a great Polvorón is its delicate texture. My tip? It comes from the careful balance of a few key ingredients.
We’re keeping it simple and classic here.
For the most authentic texture, we’re using vegetable shortening—butter-flavored to add a hint of richness.1 Some recipes use butter, but shortening is a pro-tip for getting that unique, sandy crumble that melts in your mouth. You can also use rendered leaf lard or processed lard if you’re feeling adventurous. But please know that regular butter will result in a denser, chewier cookie.
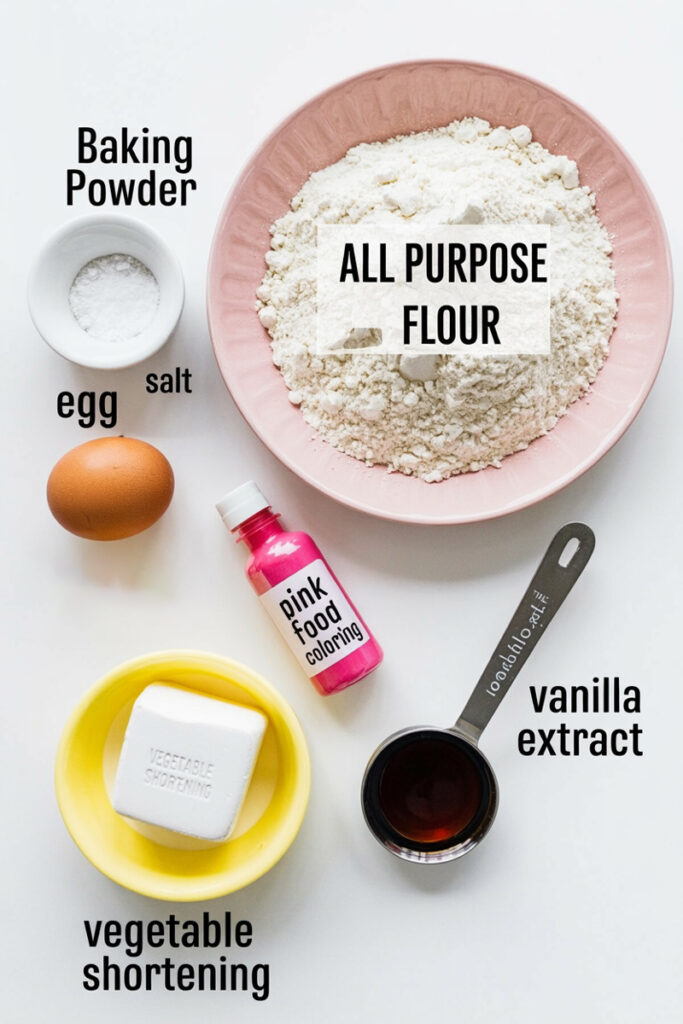
Here’s the full ingredient list:
| Ingredient | Measurement | Notes |
| All-Purpose Flour | 2 ¼ cups | Sifted for a lighter texture. |
| Baking Powder | 1 ¼ teaspoons | For a little lift. |
| Salt | ⅛ teaspoon | Just enough to balance the sweetness. |
| Vegetable Shortening | 1 cup | Butter-flavored for a richer taste. |
| Sugar | 1 cup | Granulated sugar for the dough. |
| Egg | 1 large | At room temperature for better mixing. |
| Vanilla Extract | 2 teaspoons | Mexican vanilla is highly recommended. |
| Pink Food Coloring | 5-6 drops | Gel coloring for a vibrant hue. |
| Sparkling Sugar | ⅓ cup | For that signature sparkly finish. |
Let’s Get Baking!
This is where the magic happens! I’ll walk you through each step just as if we were baking side-by-side.
Step 1: Prep and Preheat
First, let’s get our kitchen ready. Preheat your oven to 350°F (175°C). While it’s heating up, line a cookie sheet with parchment paper. This is a game-changer for easy cleanup. In a medium bowl, whisk together your dry ingredients: the flour, baking powder, and salt.
Step 2: Creaming the Perfect Base
Now, let’s get to the heart of the recipe: the dough. In your stand mixer, using the paddle attachment, beat the shortening and granulated sugar on medium-high speed. You want to beat them until they are light and fluffy, like a whipped frosting. This step is crucial for that delicate, crumbly texture. You’ll know you’ve got it when the mixture is pale and airy and you can’t feel the gritty sugar between your fingers. Next, beat in the egg and the vanilla extract. Scrape down the sides of the bowl to make sure everything is mixed well.
Step 3: Bringing the Dough Together
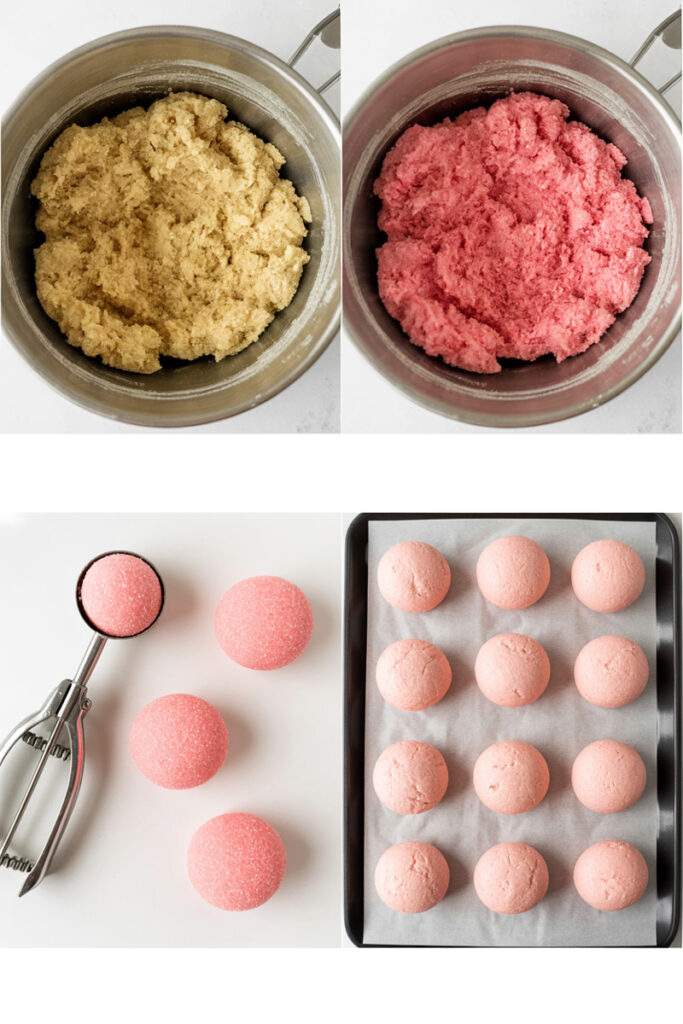
With your mixer on low speed, gradually mix in the flour mixture, a little at a time. The goal here is to mix until it’s just combined. Don’t overmix! Once the dough comes together, it will have a slightly crumbly, pebbly texture. Now for the fun part: add 5-6 drops of your pink gel food coloring. Gel coloring is the best because it’s super concentrated and won’t thin out your dough. Knead the dough with your hands or continue mixing with the paddle until the color is vibrant and uniform. The dough should be soft and pliable, but not sticky.
Step 4: Shaping and Sugar-Coating
Using a medium scoop, portion out about 1 ½ tablespoons of dough. Roll each portion into a smooth, 2-inch ball. Now, for the finishing touch! Pour your sparkling sugar into a small bowl and roll each dough ball in it until it’s completely coated. The sparkling sugar adds a beautiful shimmer and a delightful crunch to the outside. Place the sugar-coated balls on your prepared baking sheet, leaving about 2 inches of space between each one.
Step 5: The Final Press
Here’s a simple pro tip for getting perfectly uniform cookies: use the back of a measuring cup or a drinking glass to gently press down on each dough ball until it’s about ¼-inch thick. This ensures even baking and gives them that classic, flat Polvorón shape. Just press down gently—you don’t want to crack the edges too much.
Step 6: Bake and Cool
Place the cookie sheet in your preheated oven and bake for about 11-12 minutes. Keep an eye on them! You’ll know they’re done when they look set and the bottoms are a very light golden brown. They should still be nice and pink on top. Remove them from the oven and let them cool on the baking sheet for just two minutes before carefully transferring them to a wire rack to cool completely. This brief rest on the hot pan helps them firm up and keeps them from breaking.
Variations & Customization
The great thing about this recipe is its versatility! You can adapt it for any occasion.
Dietary Modifications: For a gluten-free version, use a 1:1 gluten-free flour blend. The final texture might be slightly different, but it works. For a vegan version, you can substitute the butter-flavored shortening with a plant-based shortening and use a vegan egg replacer or a flax egg.
Flavor and Color: The name says “pink,” but why stop there? You can use any gel food coloring you like! Create a vibrant yellow Polvorón for a sunny day or a festive red and green for the holidays. For a different flavor, you could swap out a teaspoon of the vanilla for almond, lemon, or even a hint of cinnamon.
A “Fancier” Version: To take these up a notch, sprinkle a pinch of flaky sea salt on top before baking for a sweet and salty contrast. For a chocolate version, mix in a tablespoon or two of cocoa powder with your dry ingredients.
Serving & Storage
Once your cookies have cooled, they are ready to be enjoyed!
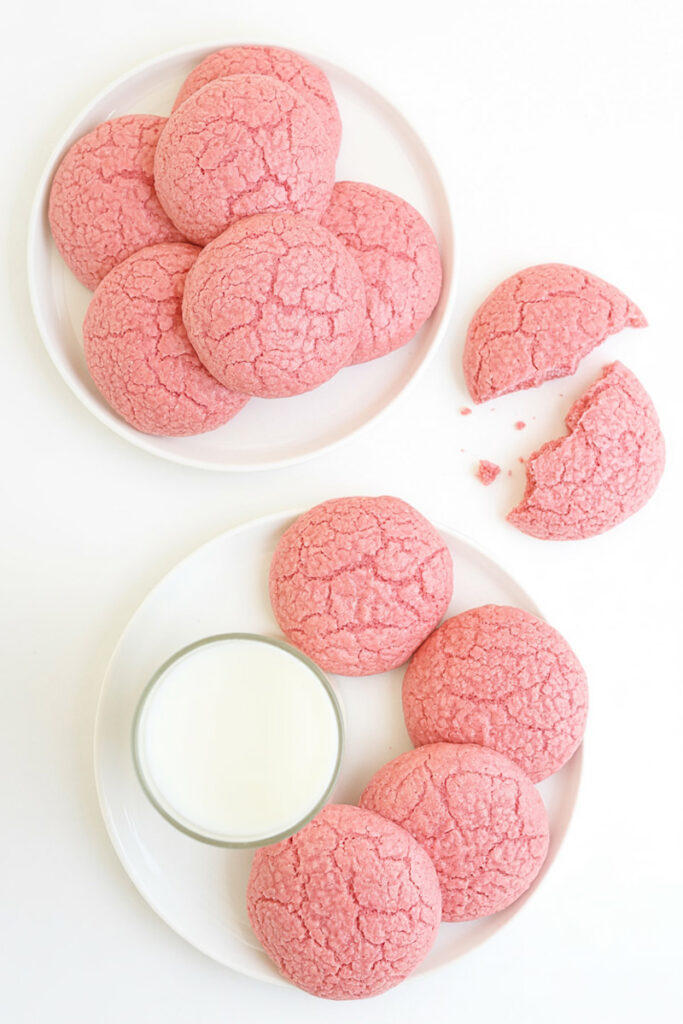
Serving Suggestions: These cookies look stunning on a simple white platter, allowing their bright pink color and sparkling sugar to pop. Arrange them in a neat stack or in a playful pattern to showcase their perfect, flat shape. They’re often served with a cup of coffee, hot chocolate, or a cool glass of milk.
Storage Instructions: Store your Polvorones in an airtight container at room temperature. They will stay fresh and delicious for up to 10 days.
I hope this guide helps you create the perfect batch of Polvorones. Happy baking!
PrintMexican Pink Cookies (Polvorones Rosas)
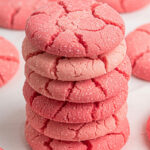
Polvorones are a type of Mexican shortbread cookie, and the vibrant pink ones, or Polvorones Rosas, are a true staple of Mexican bakeries. These cookies are known for their tender, crumbly, melt-in-your-mouth texture, and that beautiful, bright pink color. They’re a simple yet special treat, perfect for any occasion.
- Prep Time: 25 minutes
- Cook Time: 11-12 minutes
- Total Time: About 50 minutes
- Yield: 24 cookies 1x
- Category: Dessert
- Cuisine: Mexican
Ingredients
- 2 ¼ cups all-purpose flour
- 1 ¼ teaspoons baking powder
- ⅛ teaspoon salt
- 1 cup butter-flavored vegetable shortening
- 1 cup granulated sugar
- 1 large egg, at room temperature
- 2 teaspoons vanilla extract
- 5–6 drops pink gel food coloring
- ⅓ cup sparkling sugar
Instructions
- Prep: Preheat your oven to 350°F (175°C). Line a baking sheet with parchment paper. In a medium bowl, whisk together the flour, baking powder, and salt.
- Cream: In a stand mixer with a paddle attachment, beat the shortening and granulated sugar on medium-high speed until light and fluffy. This should take a few minutes. Beat in the egg and vanilla extract until everything is combined.
- Mix Dough: With the mixer on low, gradually add the flour mixture until the dough just comes together. Don’t overmix. Add the pink food coloring and mix until the color is uniform. The dough will be soft and pliable, not sticky.
- Shape & Coat: Scoop about 1 ½ tablespoons of dough for each cookie and roll into a smooth ball. Roll each ball in the sparkling sugar to coat completely. Place them on the prepared baking sheet, 2 inches apart.
- Flatten: Gently press down on each dough ball with the back of a measuring cup or glass until they are about ¼-inch thick.
- Bake: Bake for 11-12 minutes, or until the bottoms are a light golden brown. Let them cool on the baking sheet for 2 minutes before moving them to a wire rack to cool completely.
Notes
- Serving: These cookies are perfect with a cup of coffee, a glass of milk, or hot chocolate.
- Tips & Tricks: Using butter-flavored shortening is key to the authentic, crumbly texture. Gel food coloring provides a more vibrant color without thinning the dough.
- Storage: Store cookies in an airtight container at room temperature for up to 10 days.
- Make-Ahead: You can prepare the dough and store it in the fridge for up to 3 days, or freeze the flattened discs for a few weeks to bake fresh whenever you want.