Ever found yourself in a food rut? That moment when you’re craving something but don’t know what?
That’s how this recipe was born. It’s a little bit taco, a little bit mozzarella stick, and a little bit pizza roll. The best of all worlds, right?
And let me tell you, these Cheesy Taco Sticks are a total crowd-pleaser. They combine the spiced-up flavor of taco night with the warm, gooey goodness of your favorite comfort foods.
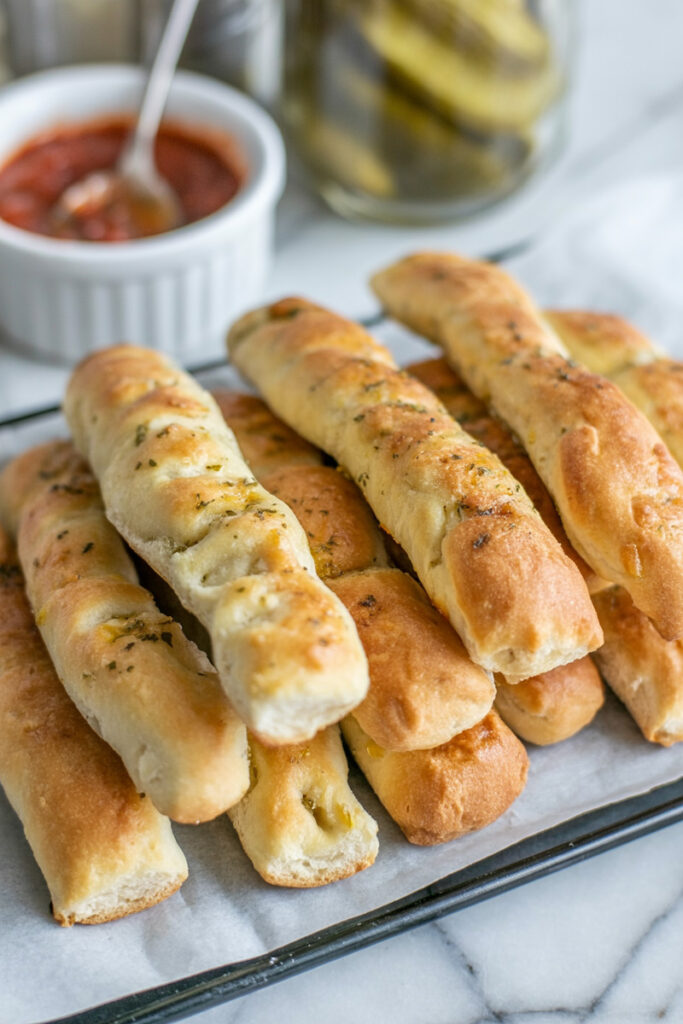
This isn’t some ancient family recipe. It came from a simple desire for something fun, easy, and deeply satisfying. It takes all the flavors of a classic ground beef taco and wraps them up in a crispy, golden-brown crust.
It’s the perfect recipe for a chill family dinner, a game-day snack, or a quick lunch. My version is all about keeping it simple while delivering a huge flavor punch. If you’re new to the kitchen, you can absolutely nail this.
The Quick Look
This easy cheesy taco stick recipe with ground beef is perfect for a weeknight meal that feels special. The best part? It comes together super fast.
- Prep and cook time: You’ll be eating in about 22 minutes. That’s 10 minutes of prep and 12 minutes of cooking.
- Servings and scaling: This makes 10 sticks, which is about 4-5 servings. It’s a breeze to double for a party or cut in half for a smaller crew.
- Difficulty: Easy peasy. If you can brown meat and roll dough, you got this.
- Equipment: You’ll need a large skillet, a baking sheet, parchment paper, a small bowl, a wooden spoon, a knife, and a pastry brush.
The good news? The taco meat filling can be prepped up to 3 days ahead of time. You can even freeze the whole thing before baking for a super-fast future meal.
The Ingredients
The beauty of this recipe? Simple, accessible ingredients. We’re using everyday stuff to create something truly delicious.
| Ingredient | My thoughts and tips |
| 1 lb. ground beef | I use a leaner cut (90/10 or 85/15) so I don’t have to drain as much fat. Any ground beef works though! |
| 1 packet taco seasoning mix | The secret to that classic taco flavor. You can use 2-3 tablespoons of your own homemade blend if you’re feeling fancy. |
| 1 tube Pillsbury Pizza Dough | This is a game-changing shortcut. It gives you a perfect, slightly chewy crust every time. |
| 5 Colby Jack and cheddar cheese sticks, halved | The real star of the show. Using cheese sticks gives you that perfect melty, stretchy cheese pull you can’t get from shredded cheese. You can also use mozzarella or pepper jack for a kick. |
| 4 tbsp butter, melted | Essential for that rich, golden-brown finish. |
| 1 tsp garlic powder | Adds a savory, aromatic punch to the butter topping. |
| 1 tsp dried parsley | A final touch of color and a little herby flavor. |
Pro tip: Make sure your butter is fully melted so it’s easy to brush on. For the dough, a classic or thin crust pizza dough works best.
Step-by-Step Method
Let’s walk through this together. You got this!
First, preheat your oven to 425°F. While it’s heating, grab a large baking sheet and line it with parchment paper or spray it with non-stick spray. This is a crucial step! Trust me, you don’t want your sticks to stick.
Next, let’s make the filling. Put your skillet over medium-high heat and toss in the ground beef. Use a wooden spoon to break up the meat. Keep stirring until it’s fully browned and there’s no pink left. Once it’s cooked, drain any extra fat. This is important—it keeps the dough from getting greasy. The meat should look nicely browned, a little bit crispy even.
Now, put the skillet back on the stove and stir in the entire packet of taco seasoning. No water needed! We want the seasoning to cling to the meat for a rich flavor. Once it’s coated, take it off the heat and let it cool. It needs to be at room temperature before you put it on the dough. Otherwise, it’ll melt the cheese too early and make the dough soggy.
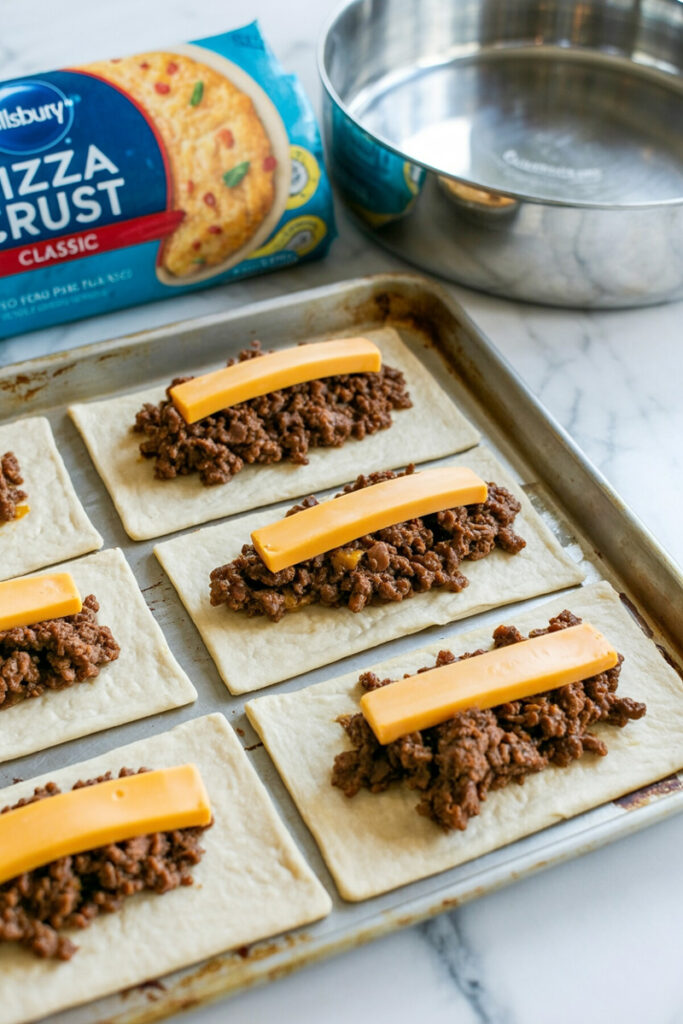
Okay, time for the fun part: assembly! Unroll your pizza dough on a flat surface. Take a knife and slice it in half lengthwise, then make four more cuts across. You should have 10 equal rectangles.
Grab one rectangle of dough. Put about a tablespoon of the cooled taco meat in the center. Top the meat with one of your halved cheese sticks.
Now, carefully roll the dough up. Start from one end and go slow. As you roll, be sure to pinch all the seams closed. This is a key tip to prevent any cheesy explosions in your oven! You should have a neatly wrapped stick with the seam on the bottom.
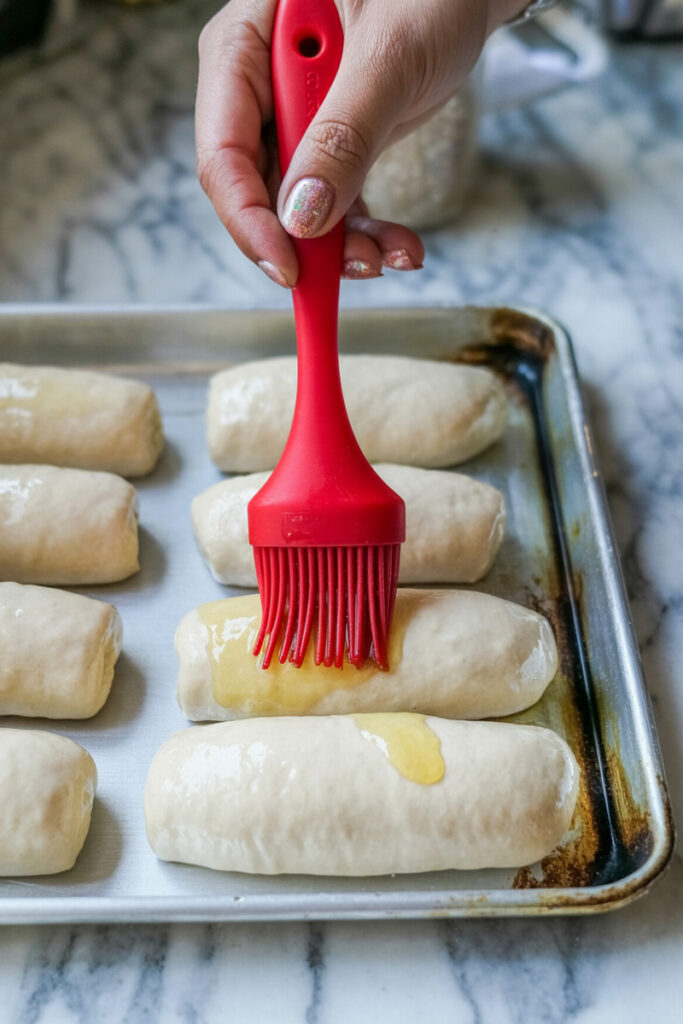
In a small bowl, whisk together the melted butter, garlic powder, and dried parsley. This simple topping adds so much flavor and color. Use a pastry brush to generously brush this mixture over the tops and sides of each taco stick.
Place them on your prepared baking sheet. Pop them into the preheated oven and bake for 10 to 12 minutes, or until they are beautifully golden brown.
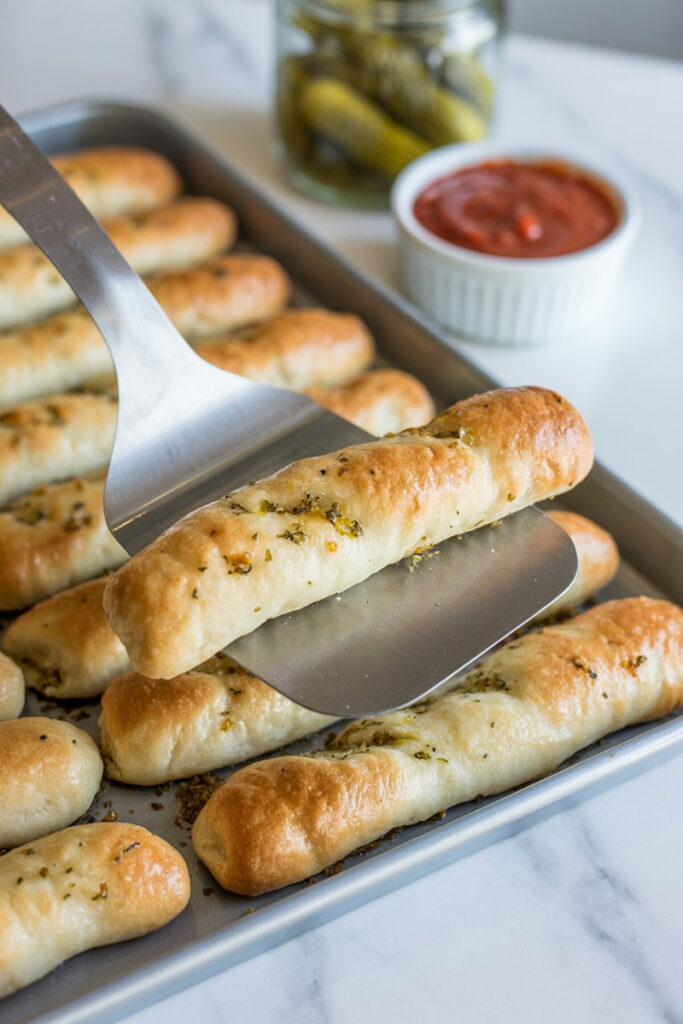
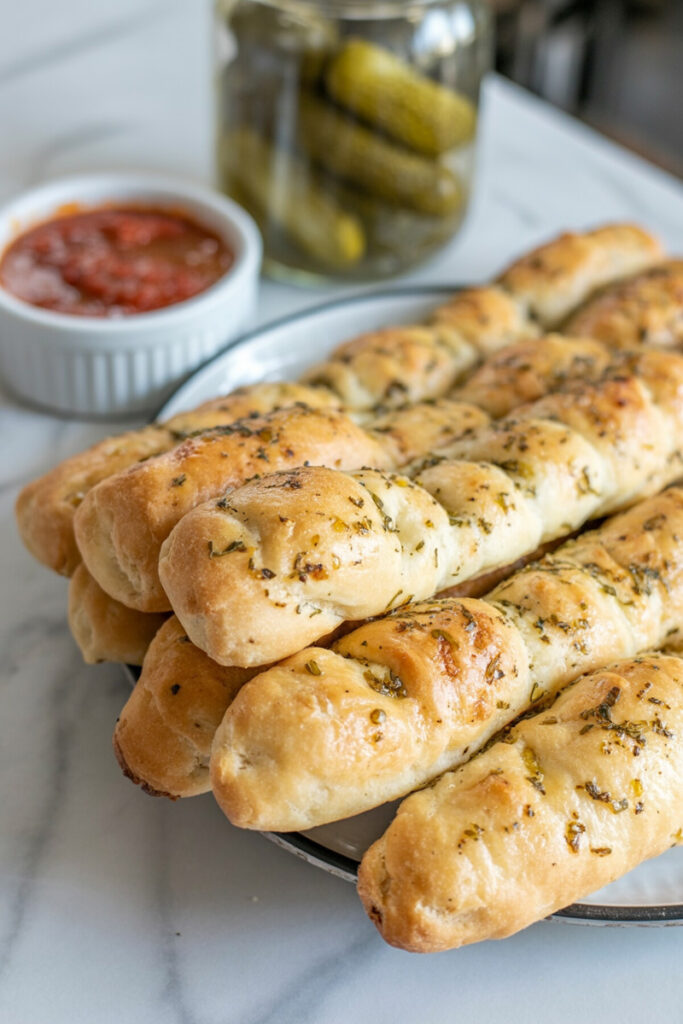
When they come out, they should look puffy and golden, and your kitchen will smell amazing. Let them cool slightly before serving—that melted cheese is molten hot!
Variations & Customization
This recipe is a blank canvas for your own creativity. Don’t be afraid to make it your own!
- For a spicy kick: Add a pinch of red pepper flakes to the ground beef as it cooks. You could also mix in some finely diced jalapeños, or use pepper jack cheese sticks.
- For a vegetarian or vegan version: Swap the ground beef for plant-based crumbles or a mixture of seasoned black beans and corn. For a vegan option, use a vegan pizza dough and dairy-free cheese sticks.
- Elevate the flavor: Try a different cheese blend like queso quesadilla or a three-cheese Mexican blend. Add a spoonful of refried beans or some sautéed onions and peppers to the meat filling for more depth.
- Toppings and garnishes: This is where you can really get creative. Once they come out of the oven, sprinkle them with chopped cilantro, diced green onions, or a little cotija cheese.
Serving & Storage
You’ve made them, now let’s eat them!
- Plating: Arrange the hot cheesy taco sticks on a platter for easy sharing.
- Best Side Dishes: These are fantastic on their own, but they’re even better with dips! I love them with salsa, sour cream, guacamole, or even a creamy ranch dressing. For a full meal, serve them with a crisp green salad or a bowl of chili.
Make-ahead and Freezing Guidance:
- To freeze before baking: Assemble the sticks but don’t bake them or brush them with the butter mixture yet. Place them on a baking sheet and freeze until they’re solid (about 2 hours). Then, transfer them to a freezer-safe bag and store for up to 3 months. When you’re ready to bake, you can cook them straight from frozen—just add a few extra minutes to the baking time.
- To freeze after baking: Let the cooked sticks cool completely, then place them in a freezer-safe bag. To reheat, you can use the oven or an air fryer to get them crispy again.
Storage and Reheating:
Store any leftovers in an airtight container in the fridge for up to 3 days. To reheat, place them on a baking sheet and bake at 350°F for about 5-7 minutes, or until the cheese is gooey and the crust is warm again.
PrintCheesy Taco Sticks
A fun and easy recipe that brings together the best of tacos, pizza rolls, and mozzarella sticks in a single, handheld treat. Perfect for a quick family dinner or a game day snack!
- Prep Time: 10 mins
- Cook Time: 12 mins
- Total Time: 22 mins
- Yield: 4–5 servings (10 sticks) 1x
- Category: Snack, Appetizer
- Cuisine: Tex-Mex
Ingredients
- 1 lb ground beef (I use 90/10 or 85/15)
- 1 packet taco seasoning mix
- 1 tube Pillsbury Pizza Dough
- 5 Colby Jack and cheddar cheese sticks, halved
- 4 tbsp butter, melted
- 1 tsp garlic powder
- 1 tsp dried parsley
Instructions
- Prep the oven and pan: Preheat your oven to 425°F. Line a large baking sheet with parchment paper or spray with cooking spray.
- Cook the beef: Brown the ground beef in a large skillet over medium-high heat. Break it up with a wooden spoon as it cooks. Once no pink remains, drain any excess fat. Return the skillet to the stove and stir in the taco seasoning. Let the meat cool.
- Assemble the sticks: Unroll the pizza dough and cut it into 10 equal rectangles. Place about a tablespoon of the cooled taco meat in the center of each rectangle. Top the meat with half a cheese stick.
- Roll and seal: Carefully roll the dough up, starting from one end. Make sure to pinch all the seams closed to prevent the cheese from leaking out.
- Add the topping: In a small bowl, mix the melted butter, garlic powder, and dried parsley. Brush this mixture generously over each taco stick.
- Bake: Place the sticks on the prepared baking sheet. Bake for 10-12 minutes, or until golden brown. Let them cool slightly before serving—the cheese will be super hot!
Notes
- Serving Suggestions: These are amazing on their own, but even better with dips like salsa, sour cream, or guacamole.
- Tips & Tricks: For a little kick, use pepper jack cheese sticks or add a pinch of red pepper flakes to the ground beef. You can also use a different cheese blend like queso quesadilla.
- Make-Ahead/Storage: The taco meat can be made up to 3 days in advance. You can also freeze the assembled, unbaked sticks for up to 3 months. Store leftovers in an airtight container in the fridge for up to 3 days and reheat in the oven or air fryer for a crispy finish.