Hey there, friends!
You know those nights when you want something comforting, something delicious, but you just don’t have a ton of time? That’s when I turn to my Crispy BBQ Chicken Quesadillas.
This isn’t just a recipe. It’s a lifesaver. It’s the perfect mashup of Tex-Mex flavors and classic smoky barbecue. We’re talking about a cheesy, savory, crispy package that everyone—and I mean everyone—will devour.
The best part? It’s so easy. A total no-brainer. This recipe is simple on purpose, but don’t let that fool you. It’s loaded with flavor and designed to be impossible to resist.
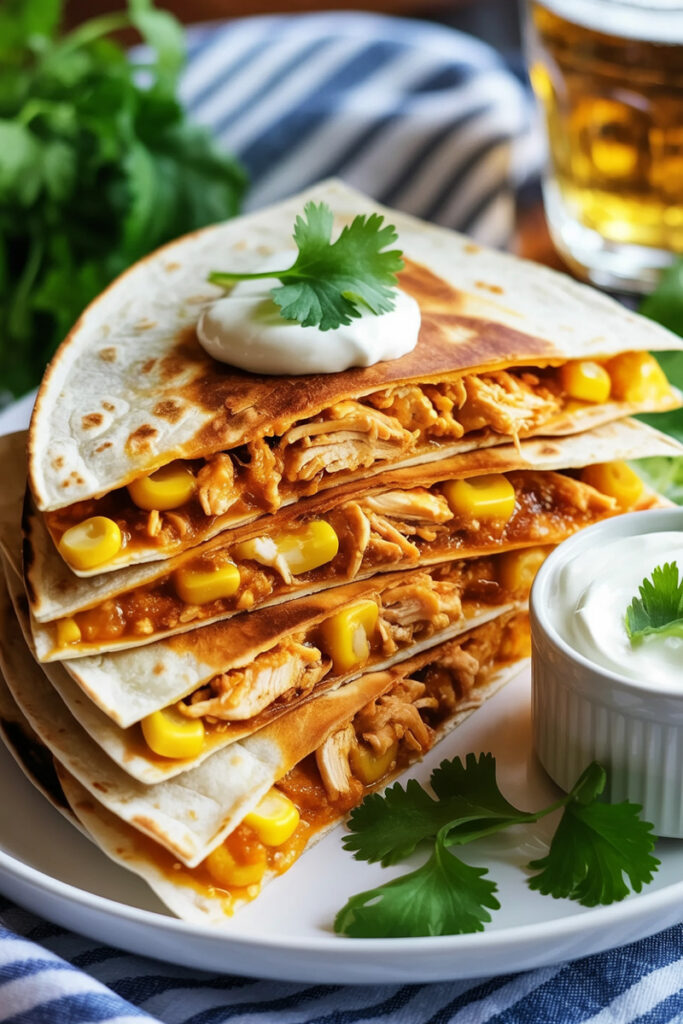
The Lowdown: Quick Facts
Honestly, this recipe is a meal-prep dream. It’s fast, forgiving, and you can make a lot of it ahead of time. I’ve even included a pro tip for making it nearly instant on a busy weeknight.
- Prep Time: 12 minutes
- Cook Time: 8 minutes
- Total Time: 20 minutes
- Difficulty: Easy peasy
- Servings: 4
Feeding a Crowd? No Problem.
This recipe makes four generous servings, which is perfect for a small family. But the good news? It’s a breeze to scale up. Throwing a party? Just double or triple the ingredients. I’ve put a quick table together to make it even easier for you.
| Servings | Tortillas | Chicken Mixture | Cheese | Butter |
| 4 | 4 | 2 cups | 2 cups | 1/2 tbsp |
| 8 | 8 | 4 cups | 4 cups | 1 tbsp |
| 12 | 12 | 6 cups | 6 cups | 1 1/2 tbsp |
What You’ll Need
You won’t need any fancy kitchen gadgets for this one.
- Nonstick skillet or griddle: I usually grab my 12-inch skillet, but a big griddle is awesome if you want to make a bunch at once.
- Spatula: A sturdy, wide one is key. It’ll save you from losing your filling when you flip.
- Mixing bowl: A medium-sized one is all you need.
- Sharp knife & cutting board: For chopping up that onion.
Make-Ahead Magic
I recently asked my mom what her secret to getting dinner on the table so fast was. She just smiled and said, “Prep, honey. It’s all about the prep.”
And she’s right. For this recipe, you can cook the onions, chicken, and mix them with the BBQ sauce and corn up to three days in advance. Just toss the filling into an airtight container and store it in the fridge.
When you’re ready to eat, the cook time is practically zero. You just assemble and heat. It’s my favorite hack for a busy Tuesday night.
The Ingredients
The beauty of this recipe is that it uses a handful of simple ingredients to create a bold, unforgettable flavor. Here’s your shopping list:
For the Quesadillas
- 1 tbsp olive oil: Just a little bit to get the onions going.
- ½ red onion, thinly sliced: This might seem small, but as it cooks, it gets sweet and mellow, which is a perfect contrast to the smoky BBQ sauce.
- 2 cups cooked chicken, chopped or shredded: My personal secret? A store-bought rotisserie chicken. It’s already seasoned and saves so much time. But if you have time, just poach or bake a few chicken breasts.
- ½ cup BBQ sauce: Grab your favorite. A smoky, slightly sweet sauce works best here.
- 1 cup cooked corn: I always have a bag of frozen corn in my freezer. It’s just a quick rinse away from being perfect. Canned or fresh corn works, too.
- 4 large flour tortillas (about 10 inches): Flour tortillas are the way to go. They get incredibly crispy and hold up to all that filling.
- 2 cups shredded Monterey Jack or cheddar cheese: The key to a good quesadilla is cheese that melts like a dream. I love a blend of Monterey Jack for its creaminess and sharp cheddar for a zesty punch.
- 2 tbsp butter: For that perfect, golden-brown crust.
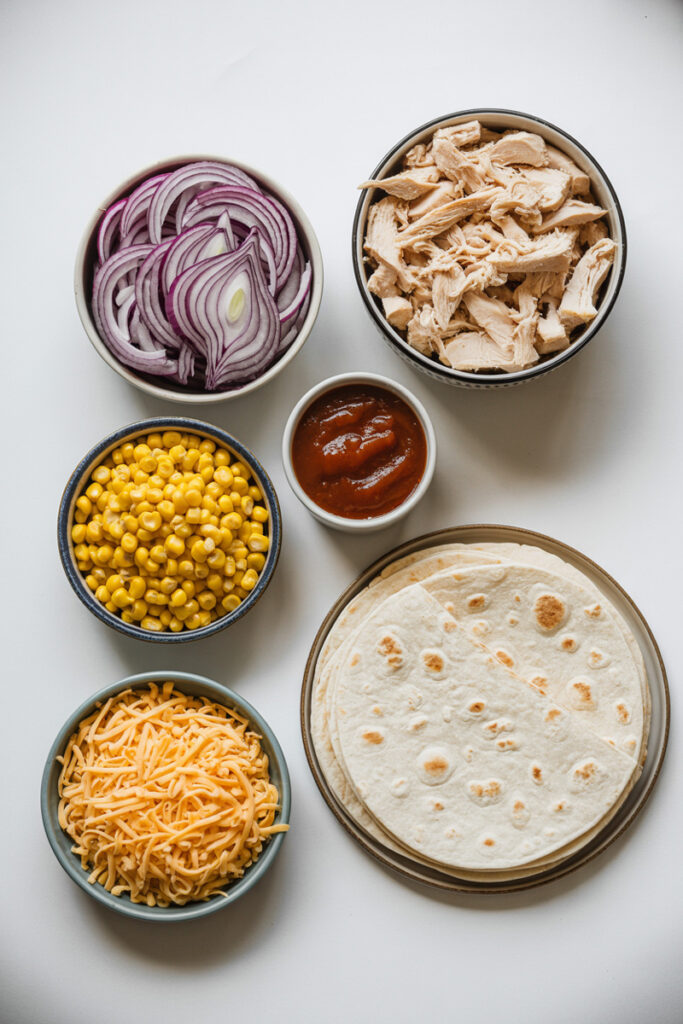
Ingredient Pro Tips
- Cheese: I know it’s tempting, but please, please shred your own cheese from a block. Pre-shredded cheese has anti-caking stuff on it that keeps it from melting smoothly.1 Trust me, it’s worth the extra minute.
- Chicken: No need to warm it up. Cold chicken from the fridge is perfectly fine; it will heat right through as the quesadilla cooks.
- Corn: Fresh or frozen adds a nice pop of sweetness and texture. If you’re using frozen, just rinse it in some warm water to thaw it out before mixing.
Step-by-Step Method
Let’s get cooking! You’ll be eating these delicious quesadillas in no time.
Step 1: Get those Onions Soft
Heat your skillet over medium heat and add the olive oil. Once it shimmers, toss in the sliced red onion. We’re not trying to fry them. We want to coax out their natural sweetness. Sauté them gently for 3-4 minutes until they’re soft and translucent. You’ll know they’re ready when they look a little glossy and your kitchen smells amazing.
Step 2: Make the Filling
While the onions cool a little, grab a medium bowl. Throw in the sautéed onions, your chopped chicken, the BBQ sauce, and the cooked corn. Now, mix it all together until everything is evenly coated. Look at the mixture—it should be moist but not sloppy. You want the flavors to cling to the chicken, not spill everywhere. This is a crucial step for preventing a soggy mess.
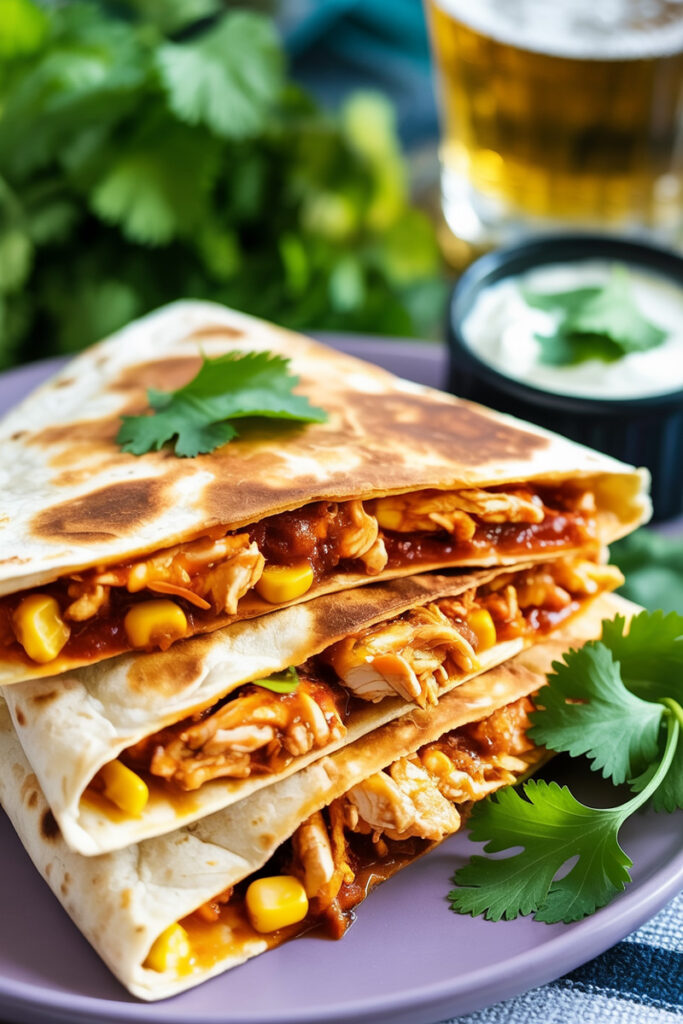
Step 3: Assemble the Quesadilla
Okay, this is the fun part. Wipe out your skillet and put it back on the stove over medium heat. Add ½ tablespoon of butter and let it melt until it sizzles. Place one tortilla in the skillet.
Now, work fast!
Sprinkle ¼ cup of cheese on one half of the tortilla. Then, spoon about a quarter of the chicken mixture right on top. Finally, add another ¼ cup of cheese on top of that. My pro tip? That layer of cheese on both the bottom and top of the filling acts like a “glue” to hold everything together.
Fold the empty half of the tortilla over the filling.
Step 4: Cook Until Crispy
Keep a close eye on your quesadilla. You’re looking for a beautiful, golden-brown color on the bottom. It usually takes about 2-3 minutes. You’ll also see the cheese on the edges start to ooze out—that’s your cue!
Using your trusty spatula, flip it carefully. Cook for another 2-3 minutes on the other side until it’s also golden and the cheese inside is completely melted. The finished quesadilla should feel firm and look perfectly toasted.
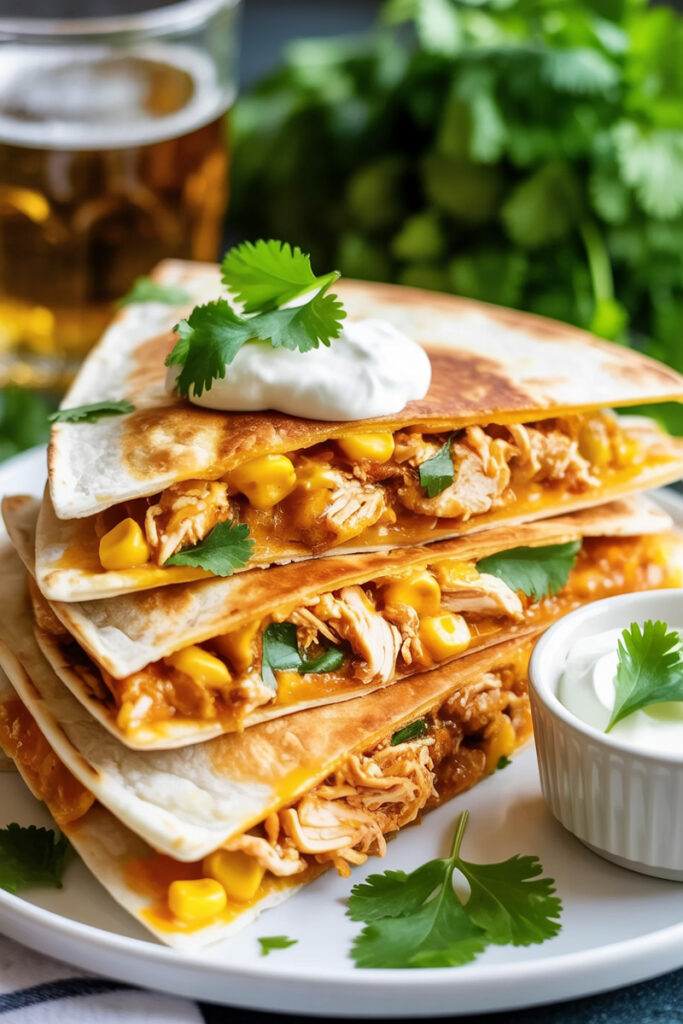
Step 5: Slice & Serve
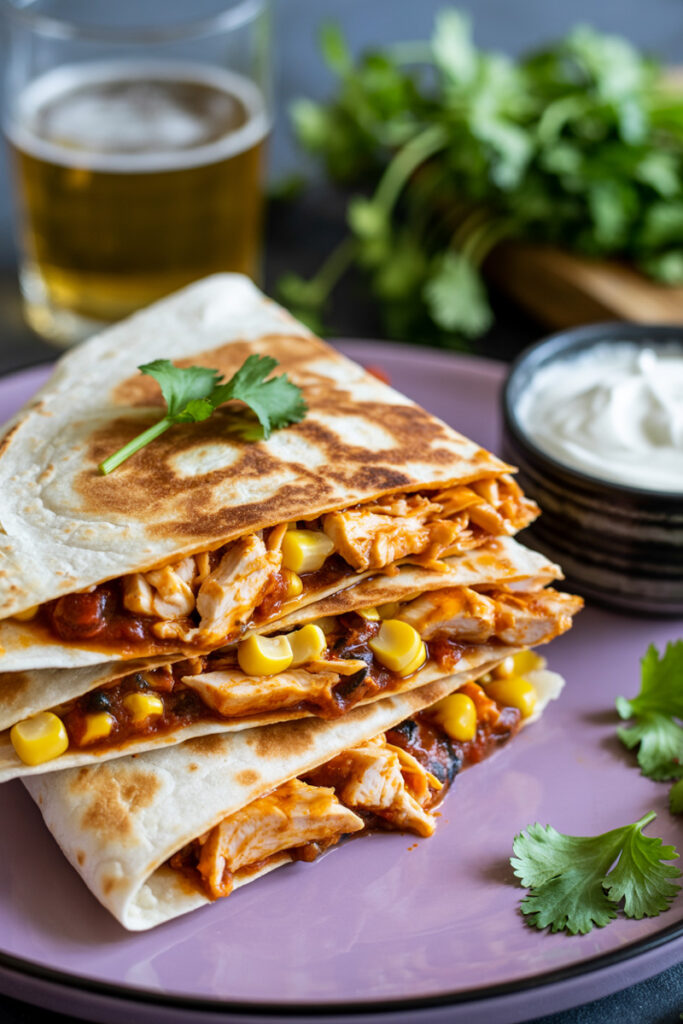
Slide that golden, cheesy quesadilla onto a cutting board. Repeat with the remaining tortillas and filling. For slicing, a pizza cutter works best for a clean cut. Cut each one into wedges and serve them warm with a dollop of sour cream and a sprinkle of fresh cilantro. The contrast of the cool, tangy sour cream and fresh cilantro against the warm filling? It’s simply divine.
Mix It Up!
This recipe is a blank canvas for you to get creative. Here are some of my favorite ways to change things up:
- Spice it up: Love a little heat? Add a pinch of chili flakes or a few dashes of hot sauce to the filling. For a bigger kick, chop up some fresh or pickled jalapeños and mix them in.
- Dietary swaps: To make this gluten-free, just use gluten-free tortillas. For a vegetarian version, swap the chicken for black beans, roasted sweet potatoes, or sautéed bell peppers.
- Fancy vs. Everyday: For a little extra something, add some crumbled bacon to the chicken or use smoked gouda instead of cheddar. You could even serve it with a fresh-made ranch dressing instead of sour cream.
How to Store and Reheat
A perfectly cooked quesadilla is a thing of beauty. And how you serve and store it makes all the difference.
- Serving suggestions: Arrange the wedges on a platter with a small bowl of sour cream for dipping. A sprinkle of fresh cilantro over the top adds a pop of color and freshness.
- Storage: You can store leftovers in an airtight container in the fridge for up to three days.2
- Reheating: To get that crispy texture back, I always use a skillet or an air fryer. A minute or two on each side in a lightly oiled pan will make them taste just as good as fresh. Whatever you do, don’t use the microwave. It’ll make the tortillas soft and chewy.
My Favorite Freezer Trick
For longer storage, you can freeze assembled but uncooked quesadillas. Wrap them tightly in plastic wrap, then put them in a freezer bag. They’ll last for up to three months!
When you’re ready to cook, no need to thaw. Just place the frozen quesadilla directly into a hot skillet, cover it to help the cheese melt, and then uncover it to get that perfect crust. This is my secret for a truly instant meal.
PrintBBQ Chicken Quesadillas

This is my go-to recipe for a quick and cheesy dinner! It’s the perfect mix of smoky BBQ and classic Tex-Mex flavors, all wrapped up in a crispy tortilla.
- Prep Time: 12 minutes
- Cook Time: 8 minutes
- Total Time: 20 minutes
- Yield: 4 1x
- Category: Main Course
- Cuisine: American, Tex-Mex
Ingredients
- 1 tbsp olive oil
- ½ red onion, thinly sliced
- 2 cups cooked chicken, chopped or shredded
- ½ cup BBQ sauce
- 1 cup cooked corn (canned, frozen, or fresh)
- 4 large flour tortillas
- 2 cups shredded Monterey Jack or cheddar cheese
- 2 tbsp butter
Instructions
- Sauté the Onion: Heat a skillet over medium heat with the olive oil. Cook the red onion for 3-4 minutes until it’s soft and translucent.
- Make the Filling: In a medium bowl, combine the cooked onions, chicken, BBQ sauce, and corn. Mix well until everything is evenly coated.
- Assemble: Wipe out the skillet and melt ½ tbsp of butter over medium heat. Place one tortilla in the skillet. On one half of the tortilla, sprinkle ¼ cup of cheese, then add a layer of the chicken mixture, and top with another ¼ cup of cheese. Fold the empty half over the filling.
- Cook to Perfection: Cook for 2-3 minutes per side, until the tortilla is golden-brown and crispy and the cheese is completely melted.
- Serve: Slide the quesadilla onto a cutting board. Repeat with the remaining ingredients. Cut into wedges and serve warm with your favorite toppings.
Notes
Serving Suggestions: These quesadillas are great on their own, but I love them with a dollop of sour cream or a sprinkle of fresh cilantro. For a full meal, serve with a simple side salad or some black beans and rice.
Tips & Tricks:
- For the best melt, shred your own cheese from a block instead of using pre-shredded.
- A store-bought rotisserie chicken is a great shortcut to save a ton of time.
- A layer of cheese on both the bottom and top of the filling acts like a “glue” to hold everything together.
Storage & Reheating: Store leftovers in an airtight container in the refrigerator for up to 3 days. To reheat, use a skillet or an air fryer to get that crispy texture back. Avoid the microwave—it’ll make the tortillas soggy.