Welcome to the world of enchiladas. This dish is so much more than just a meal—it’s a hug in a casserole dish. A celebration of flavor. A comfort food classic.
Enchiladas have a rich history. They date all the way back to the Aztecs, who would dip corn tortillas into chili sauces and eat them. Over the centuries, the dish changed, adding new fillings, cheeses, and sauces. But the main idea—a saucy, rolled tortilla filled with deliciousness—remains.
I wanted to create an enchilada recipe that anyone could make. Something that tastes authentic, but isn’t a pain to cook. By using simple, high-quality ingredients and a few clever shortcuts, we get all the vibrant, zesty flavors of traditional enchiladas without spending hours in the kitchen. This is the Easy Green Chicken Enchiladas Recipe you’ve been waiting for. The perfect blend of home-cooked comfort and weeknight convenience.
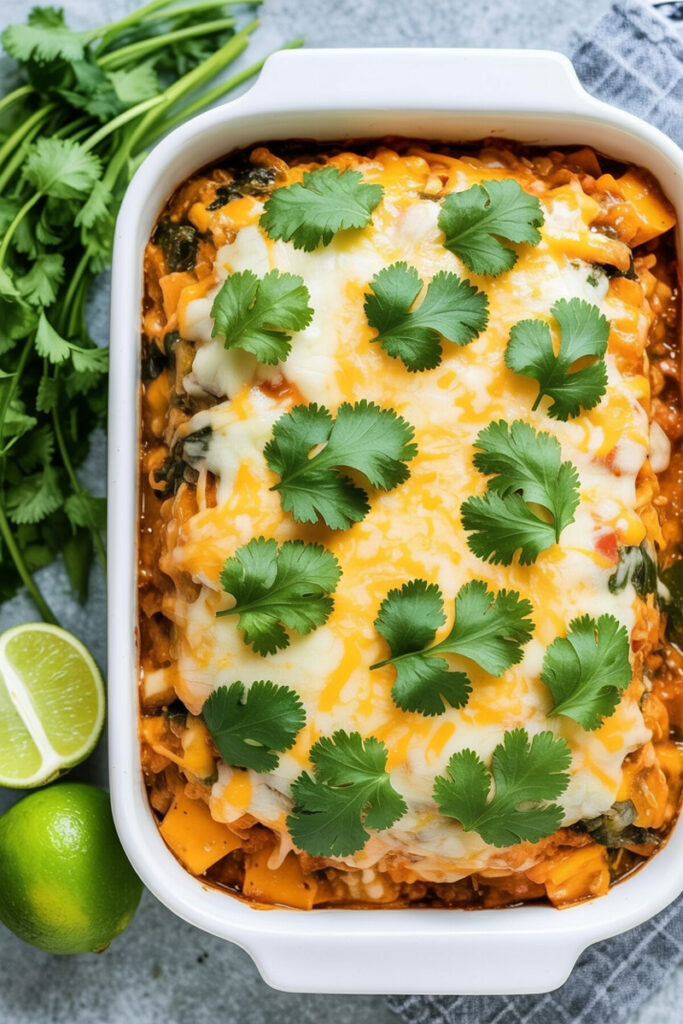
A Quick Look at the Recipe
This recipe is simple and rewarding. You get amazing results with minimal effort.
| Value | |
| Prep Time | 10 minutes |
| Cook Time | 25 minutes |
| Total Time | 35 minutes |
| Skill Level | Easy |
- Servings: This recipe makes 8 enchiladas, which is just right for 4 people.
- Pro Tip: Planning a party? Double the ingredients and use a bigger baking dish. Just be careful not to overcrowd the pan.
- Equipment: You’ll need a large skillet, a 9×13 inch baking dish, and an oven. No 9×13 inch dish? No problem. Use two smaller ones and keep an eye on them—they might cook faster.
- Make-Ahead & Meal Prep: This recipe is a meal prepper’s dream! You can make the chicken filling up to three days ahead of time. Store it in an airtight container in the fridge. You can even assemble the entire dish up to 24 hours in advance. Just cover it well and stick it in the fridge. Before baking, let it sit on the counter for about 20 minutes to get to room temperature.
Ingredients
A few simple ingredients are all you need for big flavor. Let’s break down what makes them so great.
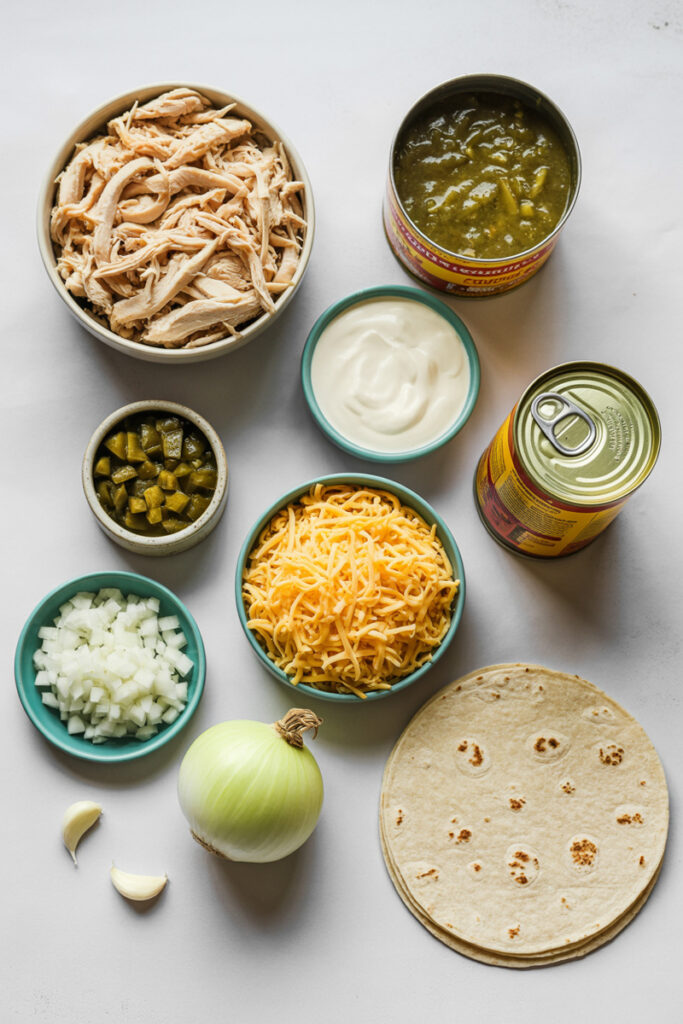
The Full List:
- 3 cups cooked, shredded chicken: This is our core. A rotisserie chicken is the ultimate shortcut. It saves a ton of time.
- 1 (15 oz) can green enchilada sauce: This is the backbone of our dish. It gives us that classic tangy, zesty flavor.
- ¾ cup full-fat sour cream: The secret to a creamy, rich filling that’s not too heavy.
- 1 (4 oz) can diced green chiles (undrained): These little flavor bombs add a mild, smoky heat.
- 1 ½ cups shredded Monterey Jack cheese: A classic choice because it melts so well. We’ll use this inside and on top.
- 1 medium onion, diced: A foundational flavor that gets sweeter as it cooks.
- 2 cloves garlic, minced: The onion’s aromatic partner, adding depth and warmth.
- 8 flour or corn tortillas: The perfect vehicle for all this deliciousness.
- Olive oil, for cooking: Just a splash to get the onion and garlic started.
- Fresh cilantro, chopped: Our finishing touch for a pop of freshness.
A Note on Substitutions:
- Chicken: No rotisserie chicken? Just boil two large chicken breasts with a pinch of salt until cooked. Then shred them with two forks. Easy.
- Sauce: Canned sauce is a great shortcut, but you can use your favorite homemade salsa verde. Just know that homemade versions can be a little different, so you might need to adjust the sour cream or cheese.
- Sour Cream: Want a lighter filling? Swap in full-fat plain Greek yogurt. It gives you the same creamy texture and a nice tang.
- Cheese: Monterey Jack is a go-to. But feel free to play around! Shredded cheddar, a Mexican blend, or even pepper jack would be great. My advice? Always shred your own cheese. It melts better and tastes way better than the pre-shredded stuff.
- Tortillas: This recipe works with both flour and corn tortillas. If you’re using corn tortillas, you have to warm them first. Otherwise, they’ll crack when you roll them. A quick toast in a dry skillet or a 30-second zap in the microwave is all it takes.
Step-by-Step Method: Let’s Get Cooking!
It’s time to bring this delicious recipe to life. Follow these steps and let your senses be your guide!
Stage 1: Prep Oven & Pan
First things first: preheat your oven to 375°F (190°C). This makes sure it’s hot and ready. While it’s heating, pour a thin, even layer of the green enchilada sauce on the bottom of your 9×13 inch baking dish. Just enough to coat the pan. This will keep the enchiladas from sticking and make sure every inch is coated in flavor.
Stage 2: Sauté Aromatics
Now, get that skillet going. Add a splash of olive oil to a large skillet over medium heat. When the oil shimmers, toss in your diced onion. Listen for that gentle sizzle—that’s how you know it’s ready. Cook the onion for 3-4 minutes until it’s soft and looks translucent. You’ll start to smell its sweet aroma filling the air. Next, add your minced garlic. Stir it around for about 30 seconds. The fragrance will get more intense and a bit nutty. That’s your cue! Don’t cook it for too long, or it will turn bitter.
Stage 3: Create the Filling
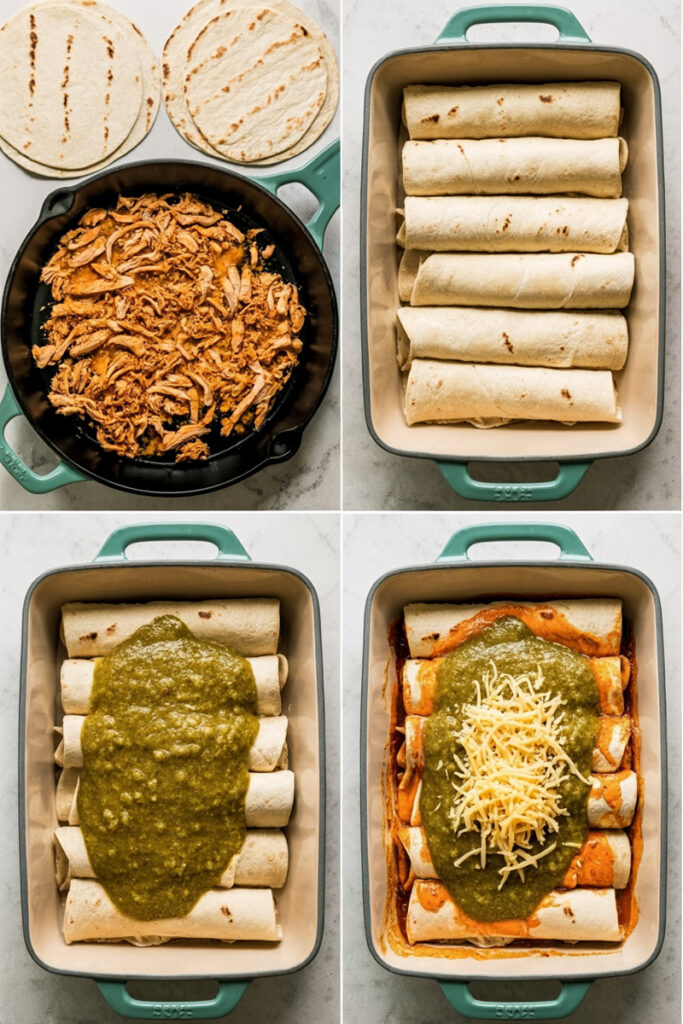
Turn off the heat, but leave the skillet on the stove. Add your shredded chicken, sour cream, diced green chiles, a half cup of Monterey Jack cheese, and a quarter cup of the enchilada sauce. Give everything a good stir until it’s all beautifully combined. You want a creamy, cohesive mix where all the shredded chicken is coated in that zesty goodness.
Stage 4: Assemble Enchiladas
This is where the magic happens! Lay out a tortilla and spoon about a third of a cup of the chicken filling down the center. Gently but snugly roll the tortilla. Be careful not to overfill it! Place your rolled enchilada seam-side down in the prepared baking dish. Repeat this with the remaining tortillas, arranging them side-by-side in a neat row. It’s okay if they’re a little snug—that’s what we want.
Stage 5: Sauce, Cheese & Bake
Now for the grand finale. Pour the rest of the green enchilada sauce evenly over the top of the rolled tortillas. Make sure every inch is covered. This is what keeps them moist and flavorful. Then, sprinkle the remaining cup of Monterey Jack cheese all over the top. Pop the dish into your preheated oven and let it bake for 20-25 minutes. You’ll know it’s ready when the sauce is bubbling and the cheese is beautifully melted and lightly golden.
Stage 6: Rest & Garnish
I know, I know. You want to dive in right away. But trust me on this one: let the enchiladas rest for 5 minutes. This gives the sauce time to settle and the enchiladas a chance to firm up. That way, they won’t fall apart when you serve them. Once they’ve rested, garnish generously with fresh cilantro. The bright green against the golden cheese is a visual treat, and the fresh herb is the perfect finishing touch.
Variations & Customization
The beauty of this recipe? It’s easy to change it up to fit your tastes, your diet, or what you have in the fridge.
- Dietary Modifications: For a gluten-free meal, use certified gluten-free corn tortillas. Want it vegetarian? Swap the chicken for black beans, pinto beans, or roasted sweet potatoes. For a vegan version, use a plant-based chicken sub, dairy-free sour cream, and your favorite vegan shredded cheese.
- Spice Level: The canned green chiles are pretty mild. For more heat, add a finely diced jalapeño or serrano pepper to the skillet when you sauté the onions. You could also mix a dash of your favorite hot sauce into the filling.
- Fancy vs. Everyday: This recipe is perfect for a weeknight. But if you want to make it special, stir a few ounces of softened cream cheese into the filling. It makes it extra decadent. For a prettier garnish, add some crumbled cotija cheese, sliced avocado, or a dollop of fresh guacamole.
Serving & Storage
A great meal deserves a great presentation and a plan for leftovers!
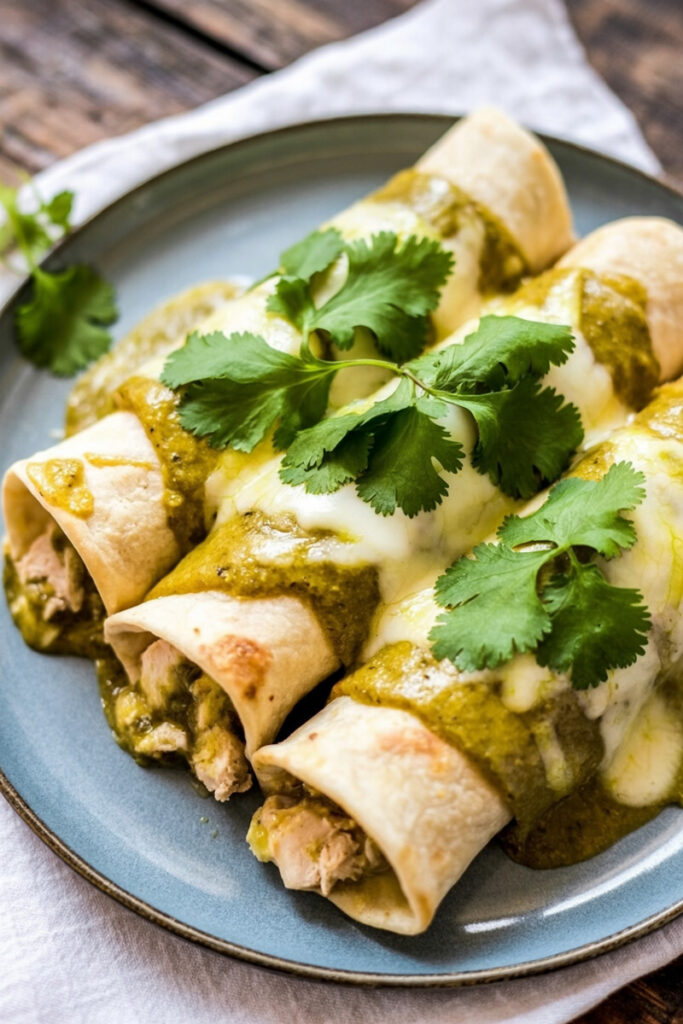
- How to Plate it: Serve two enchiladas per person. They’re great with a side of Mexican rice and refried beans.
- The Best Sides: This dish pairs perfectly with a few Mexican classics.
- Rice: Fluffy Mexican rice.
- Beans: Creamy refried beans or seasoned black beans.
- Freshness: A simple side salad with a lime vinaigrette or some fresh pico de gallo.
- Leftovers: If you have leftovers, let the enchiladas cool down completely. Then, transfer them to an airtight container. They’ll keep in the fridge for up to 3 days.
- Reheating Tips: To reheat, you can either pop a serving in the microwave for a minute or two. Or, put them back in an oven-safe dish and bake at 350°F (175°C) for 10-15 minutes. To keep them from drying out, sprinkle a little water or more sauce on top before you reheat.
Chicken Enchiladas With Green Sauce

An enchilada is a hug in a casserole dish. A celebration of flavor. A comfort food classic. With zesty green sauce and creamy chicken filling, this recipe brings all the flavor of traditional enchiladas with minimal effort. It’s perfect for a weeknight, but delicious enough for a party.
- Prep Time: 10 minutes
- Cook Time: 25 minutes
- Total Time: 35 minutes
- Yield: 4 1x
- Category: Dinner
- Cuisine: Mexican/Tex-Mex
Ingredients
- 3 cups cooked, shredded chicken (rotisserie chicken is a great shortcut)
- 1 (15 oz) can green enchilada sauce
- ¾ cup full-fat sour cream
- 1 (4 oz) can diced green chiles (undrained)
- 1 ½ cups shredded Monterey Jack cheese, divided
- 1 medium onion, diced
- 2 cloves garlic, minced
- 8 flour or corn tortillas
- Olive oil
- Fresh cilantro, chopped, for garnish
Instructions
- Prep: Preheat your oven to 375°F (190°C). Pour a thin layer of enchilada sauce into the bottom of a 9×13 inch baking dish.
- Sauté: Heat olive oil in a large skillet over medium heat. Cook the diced onion for 3-4 minutes until soft. Add minced garlic and cook for 30 seconds more.
- Mix Filling: Remove the skillet from heat. Stir in shredded chicken, sour cream, green chiles, ½ cup of the cheese, and ¼ cup of the enchilada sauce.
- Assemble: Spoon about ⅓ cup of the filling onto each tortilla. Roll snugly and place seam-side down in the prepared baking dish.
- Bake: Pour the remaining enchilada sauce evenly over the top of the rolled tortillas. Sprinkle with the remaining cup of Monterey Jack cheese. Bake for 20-25 minutes, until the sauce is bubbly and the cheese is golden.
- Garnish: Let the enchiladas rest for 5 minutes before serving. Garnish with fresh cilantro.
Notes
- Serving Suggestions: This dish pairs perfectly with Mexican rice, refried beans, or a simple side salad.
- Tips & Tricks: Use corn tortillas? Warm them first to keep them from cracking. For the best melt and flavor, shred your own cheese instead of using pre-shredded bags.
- Storage & Reheating: Store leftovers in an airtight container in the fridge for up to 3 days. To reheat, microwave for a minute or two, or bake in the oven at 350°F (175°C) for 10-15 minutes.