Want to make a dessert that feels like a magic trick? Look no further than these Sopapilla Cheesecake Bars. They’re more than just a recipe; they’re a sweet, fluffy slice of comfort that brings the flavors of Tex-Mex straight to your kitchen.
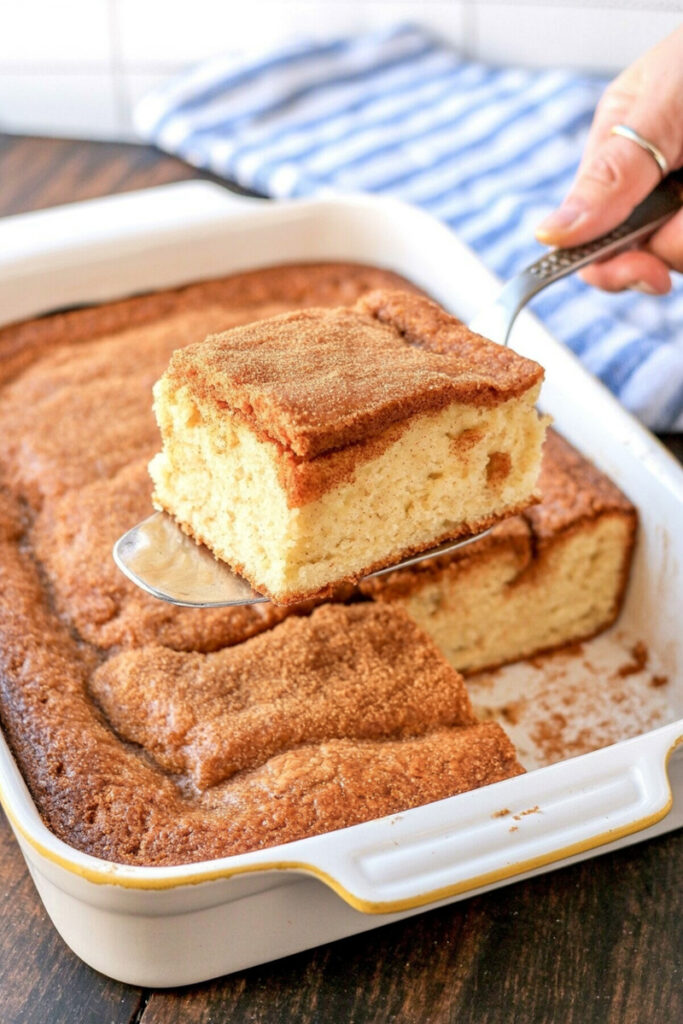
Now, you might be familiar with traditional sopapillas—those light, fried pastries covered in cinnamon sugar and honey. This recipe takes all those classic flavors and turns them into a crowd-pleasing bar. We’re talking a tender, flaky crust, a rich, creamy cheesecake filling, and that iconic buttery, cinnamon-sugar crunch on top.
The best part? This recipe is as easy as it gets. It’s perfect for potlucks, parties, or when you just need a sweet treat at home. I’m pretty sure it will become your new go-to.
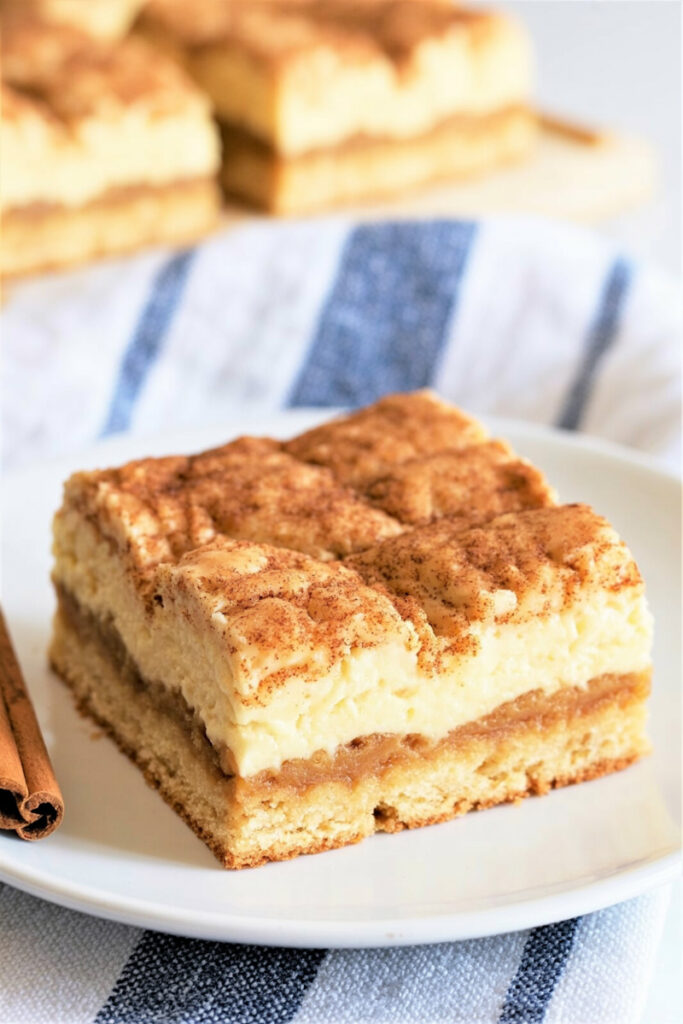
All the Details on This Recipe
I’ve had a lot of people tell me they love this recipe because it’s so forgiving. So don’t worry if you’re a total beginner—it’s going to turn out delicious.
Prep and Cook Time: You’ll only spend about 20 minutes getting things ready. Then, just kick back for a 40-minute bake. Your kitchen will smell incredible.
Servings and Scaling: This recipe makes 12 generous servings. Perfect for a family dessert or a small group. Want to make more? Here’s a quick guide to help you out.
| Yield | Pan Size | Crescent Rolls | Cream Cheese |
| 12 bars | 9 x 13-inch | 2 tubes (16 oz total) | 2 packages (16 oz total) |
| 24 bars | 11 x 17-inch | 4 tubes (32 oz total) | 4 packages (32 oz total) |
Difficulty Level: This recipe is super easy. Honestly, if you can open a can of crescent rolls, you’re halfway there. No crazy techniques needed.
What You’ll Need
The magic of this recipe is that it uses a handful of everyday ingredients to make something totally luxurious.
Equipment:
- A 9 x 13-inch baking dish.
- A medium mixing bowl.
- An electric hand mixer or stand mixer. It makes things easier, but you can use a whisk if you want.
- A small bowl for the topping.
- A pastry brush (optional, but useful).
- Nonstick cooking spray. (Pro tip: get the kind with flour already in it!)
Ingredients:
- 2 (8-ounce) tubes refrigerated crescent rolls (or dough sheets). These are your secret weapon. The sheets are great because there are no perforations, so you don’t have to pinch the seams together.
- 2 (8-ounce) packages cream cheese, softened.1 This is the heart of your cheesecake filling. Make sure it’s at room temperature—this is crucial. It’ll blend smoothly with the sugar and vanilla, giving you a perfect, lump-free filling.
- 1 cup sugar.
- 1 teaspoon vanilla extract. Use a good one for the best flavor.
- 4 Tablespoons salted butter, melted. This makes the topping golden and crunchy. The salt balances out all the sweetness. If you only have unsalted butter, just add a pinch of salt to the topping.
- ½ cup granulated sugar.
- 1 teaspoon ground cinnamon. Gotta have this for that classic sopapilla flavor.
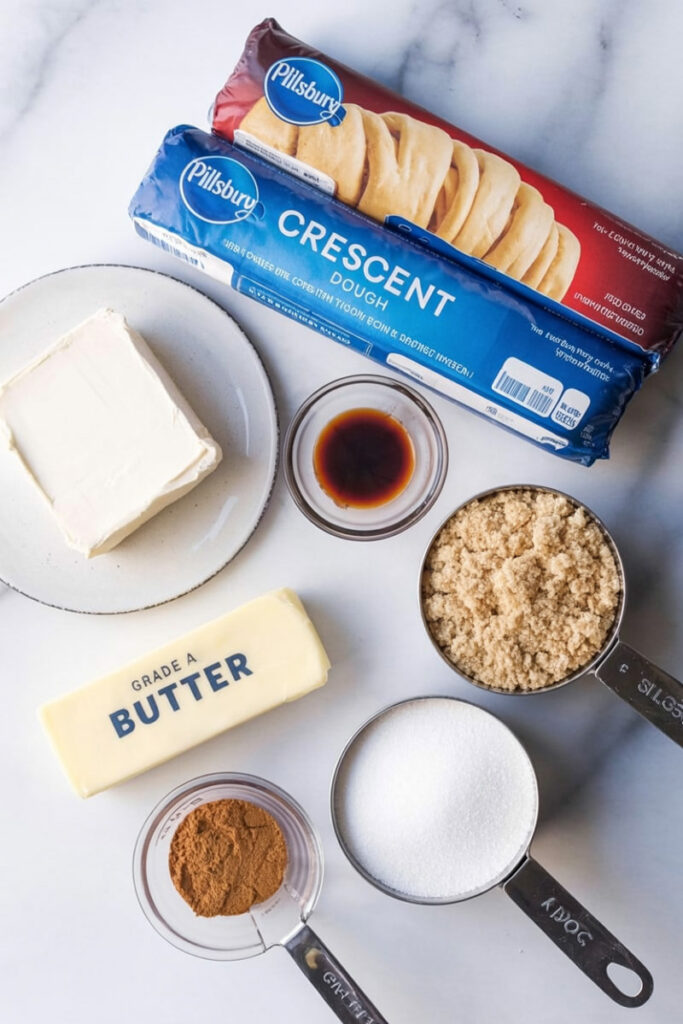
Let’s Get Baking
Follow these simple steps. Don’t rush, and you’ll be rewarded.
Prep Your Pan. First, preheat your oven to 350°F. Grab your 9×13-inch baking dish and spray it generously with nonstick spray. Unroll one tube of crescent rolls and press the dough into the bottom of the pan, making sure to get it all the way into the corners. Press any seams together so it’s a solid crust.
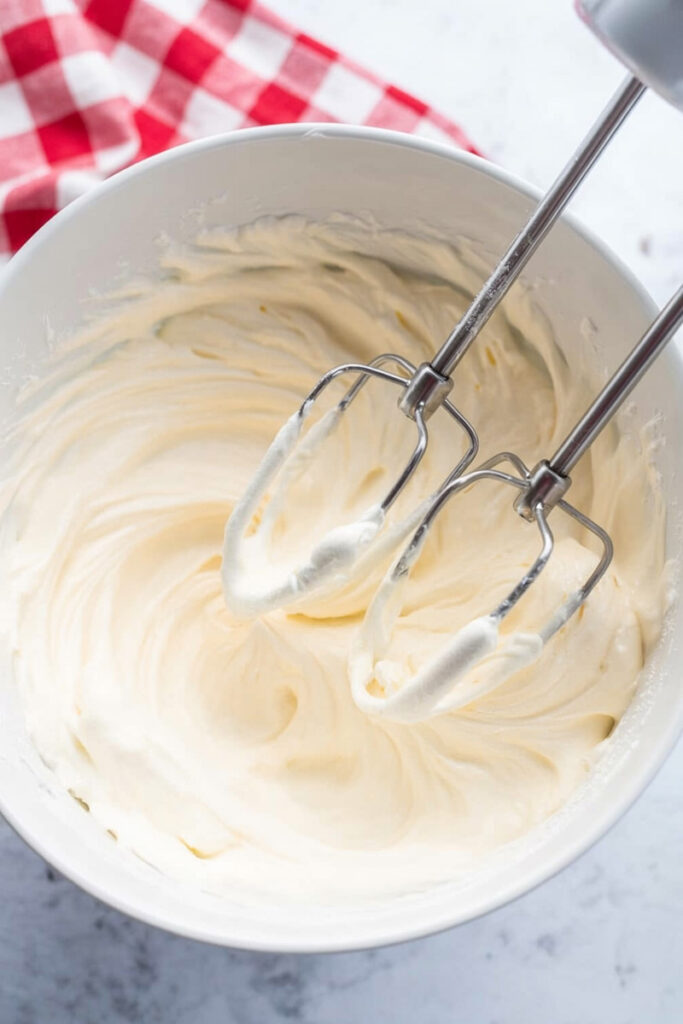
Mix the Filling. In a medium bowl, combine your softened cream cheese, sugar, and vanilla. Beat it with your mixer for a few minutes until it’s perfectly smooth. You want it to look like a thick, silky frosting. This step is key for that perfect cheesecake layer.
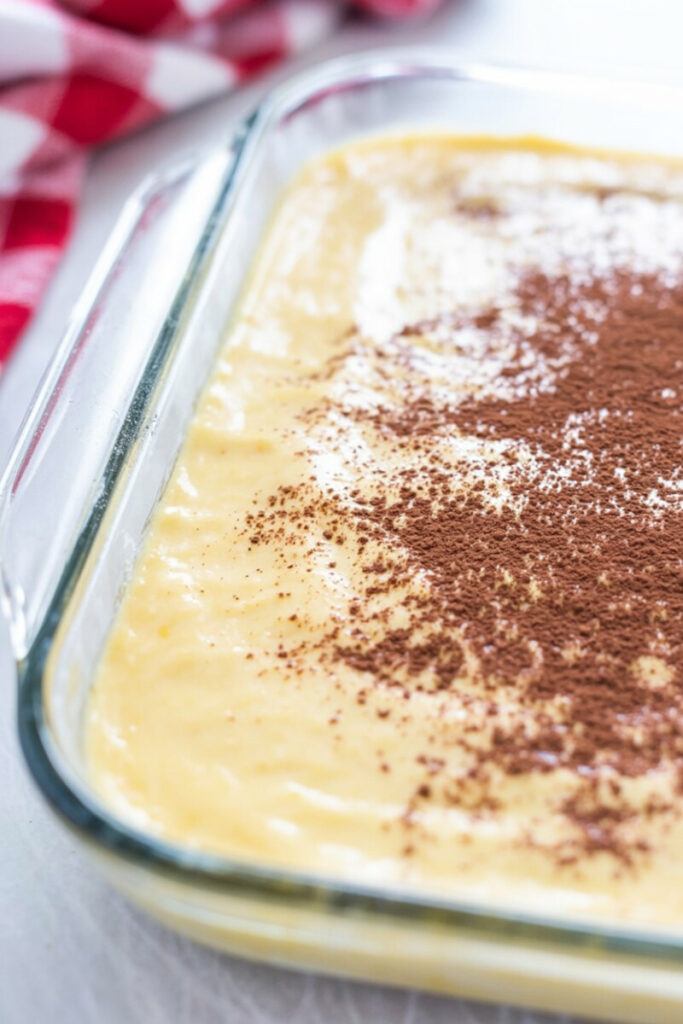
Layer It Up. Now for the fun part! Spread the cream cheese mixture evenly over the bottom crescent roll layer. Unroll the second tube of dough and lay it on top of the filling. Gently press the seams together. No need to be perfect; the oven will work its magic.
Create the Topping. In a small bowl, whisk together the melted butter, the other ½ cup of sugar, and the cinnamon. It will be a bit gritty, and that’s exactly what you want. Drizzle this incredible mixture all over the top of the unbaked bars. Use a spoon or a pastry brush to make sure everything is covered.
Bake and Wait. Pop your dish in the oven for 30–40 minutes, or until the top is a beautiful, light golden brown. The cinnamon-sugar will have formed a delightful, crackly crust. Your whole house will smell amazing. When it’s done, don’t try to eat it right away! Let the bars cool for at least 30 minutes on the counter before you cut into them.
Mix It Up!
The classic version is great, but don’t be afraid to get creative.
- Dietary Tweaks: If you need to make them gluten-free, look for gluten-free crescent roll dough. For a vegan version, there are great plant-based cream cheeses and vegan doughs on the market now.
- Seasonal Flavors: In the fall, add a little nutmeg or allspice to the topping. In the winter, try swirling in some cranberry sauce or white chocolate chips. For summer, top them with fresh berries.
- Extra Fancy: A drizzle of honey or caramel sauce is a great way to elevate them. A little dusting of powdered sugar also looks nice.
Serving & Storing
Once your bars are cool, it’s time to enjoy.
- How to Serve: Cut them into squares and arrange them on a platter. You can also add a dollop of whipped cream or a scoop of vanilla ice cream on the side.
- Storage: Keep leftovers in an airtight container in the fridge for up to 3-4 days.
- Can you freeze them? Yes! Place the cooled bars in a freezer-safe container. They’ll be good for up to 3 months. Just let them thaw in the fridge overnight before you’re ready to eat them.
Enjoy your creation!
PrintSopapilla Cheesecake Bar
This recipe takes the best parts of a classic sopapilla—the flaky, cinnamon-sugar crust—and combines them with a creamy cheesecake filling. The result? An unbelievably easy dessert that tastes like a warm, crunchy churro and a rich cheesecake got together. It’s the perfect thing to bring to a party or just to enjoy at home.
- Prep Time: 20 minutes
- Cook Time: 40 minutes
- Total Time: 60 minutes
- Yield: 12 servings 1x
- Category: Dessert
- Cuisine: Tex-Mex
Ingredients
For the Crust & Topping:
- 2 (8-ounce) tubes refrigerated crescent rolls
- 4 Tablespoons salted butter, melted
- ½ cup granulated sugar
- 1 teaspoon ground cinnamon
For the Filling:
- 2 (8-ounce) packages cream cheese, softened
- 1 cup sugar
- 1 teaspoon vanilla extract
- Nonstick cooking spray
Instructions
- Prep It: Preheat your oven to 350°F. Lightly spray a 9×13-inch baking dish with nonstick spray. Unroll one tube of crescent rolls and press it into the bottom of the dish, sealing any seams.
- Make the Filling: In a medium bowl, beat the softened cream cheese, sugar, and vanilla extract until the mixture is smooth and lump-free.
- Layer It Up: Spread the cream cheese filling evenly over the bottom crescent roll layer. Unroll the second tube of dough and place it directly on top of the filling, gently pressing the seams together.
- Top It Off: In a small bowl, whisk together the melted butter, sugar, and cinnamon. Drizzle this mixture all over the top of the unbaked bars, making sure to cover the dough evenly.
- Bake: Pop the dish in the preheated oven for 30-40 minutes, or until the top is golden brown and the filling is set.
- Cool: Let the bars cool on the counter for at least 30 minutes before cutting.
Notes
Serving Suggestions: These bars are delicious on their own. For a little something extra, try drizzling them with honey or serving with a scoop of vanilla ice cream or a dollop of whipped cream.
Tips & Tricks: Make sure your cream cheese is at room temperature. This is the key to getting a smooth, silky filling without any lumps.
Storage & Reheating: Store leftovers in an airtight container in the refrigerator for up to 3-4 days. To warm them up, a quick 15-20 second trip to the microwave will do the trick.